Aplikasi Flutter adalah kumpulan dari berbagai widget. Pada tutorial kali ini, kita akan membahas widget-widget yang biasa digunakan saat membangun aplikasi Flutter. Beberapa widget yang umum digunakan adalah :
- Rows and Columns
- Text
- Scaffold and AppBar
- Raised Button
- Alert Dialog
- Box Constraints
- Container
- Image
- Size, Margin, and Padding
- ListView
- Floating Action Button
Container Widget
Kita akan membuat aplikasi flutter dari awal. Apabila Anda menggunakan Android Studio, hapus seluruh baris kode di main.dart dan akan kita buat yang baru.
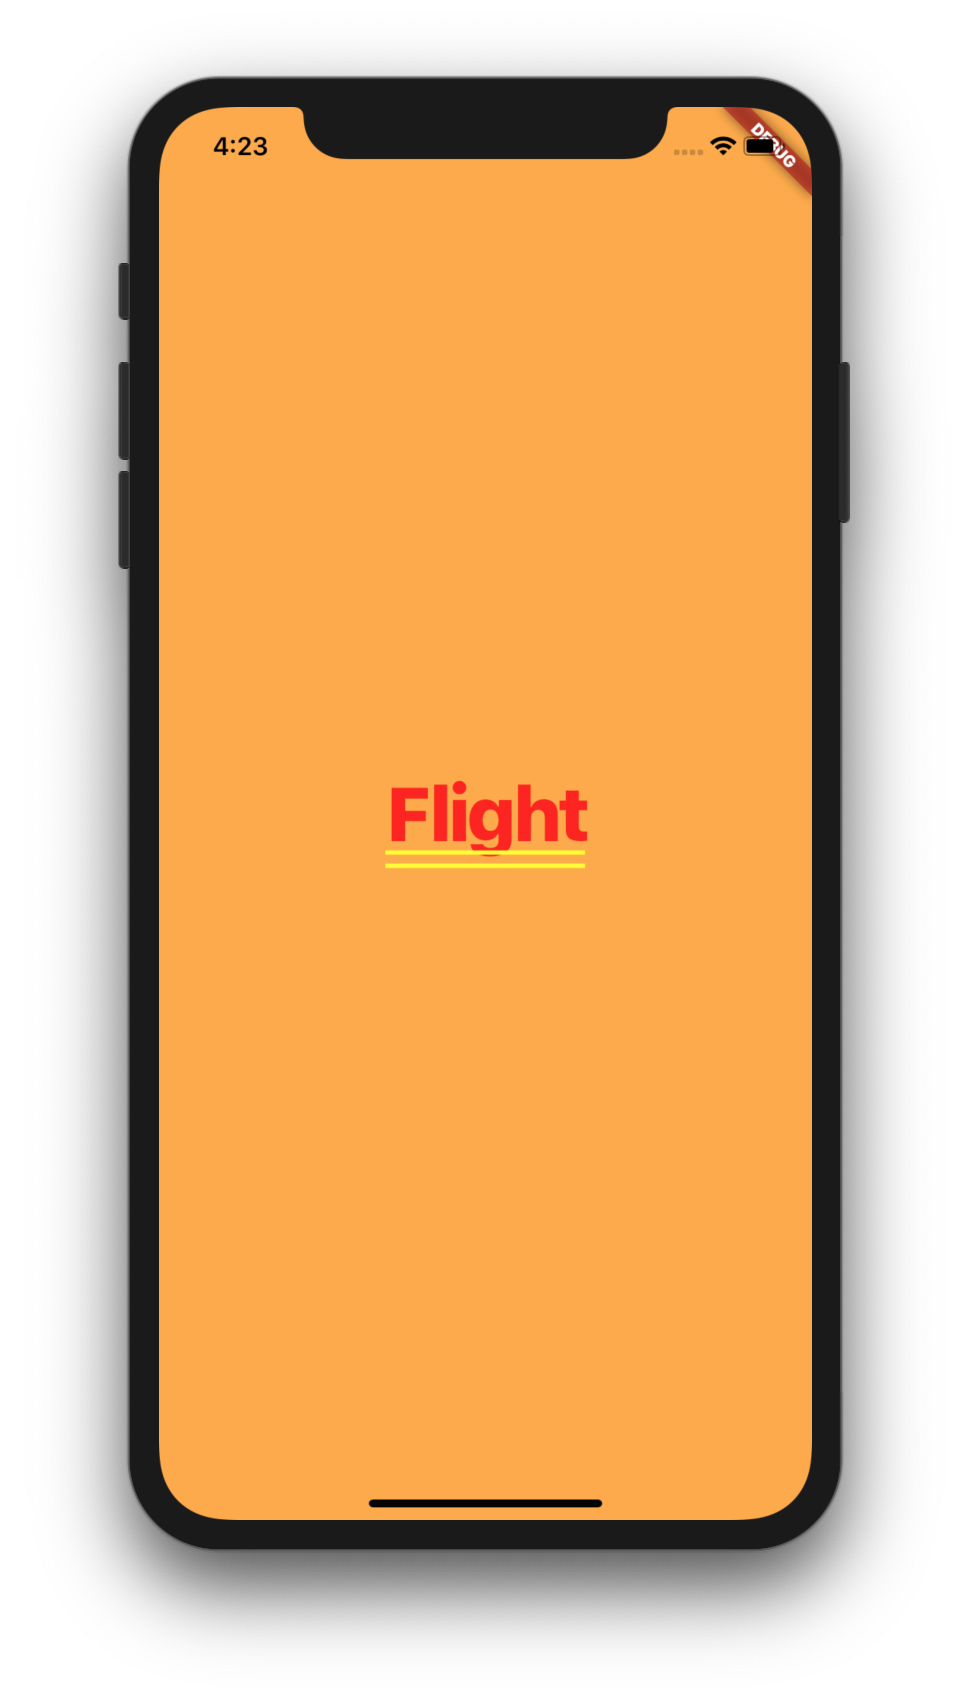
Seperti pada tutorial sebelumnya, kita akan mengimport package material dart, dan memanggil class MaterialApp yang berisi Home() widget. Home widget ini kita buat di folder app_screens dan diberi nama home.dart. Di dalam file ini, kita membuat widget Home yang import material package, dan me-return Container widget yang memiliki property alignment center dan color OrangeAccent. Tidak lupa kita beri Text “Flight” pada text widget.
main.dart
|
|
import 'package:flutter/material.dart'; import './app_screens/home.dart'; void main(){ runApp(MaterialApp( title: 'Flutter Widget', home: Home(), )); } |
home.dart
|
|
import 'package:flutter/material.dart'; class Home extends StatelessWidget{ @override Widget build(BuildContext context) { // TODO: implement build return Container( alignment: Alignment.center, color: Colors.orangeAccent, child: Text("Flight"), ); } } |
Jalankan aplikasi, maka hasilnya akan seperti ini :
Property Width dan Height pada Container Widget
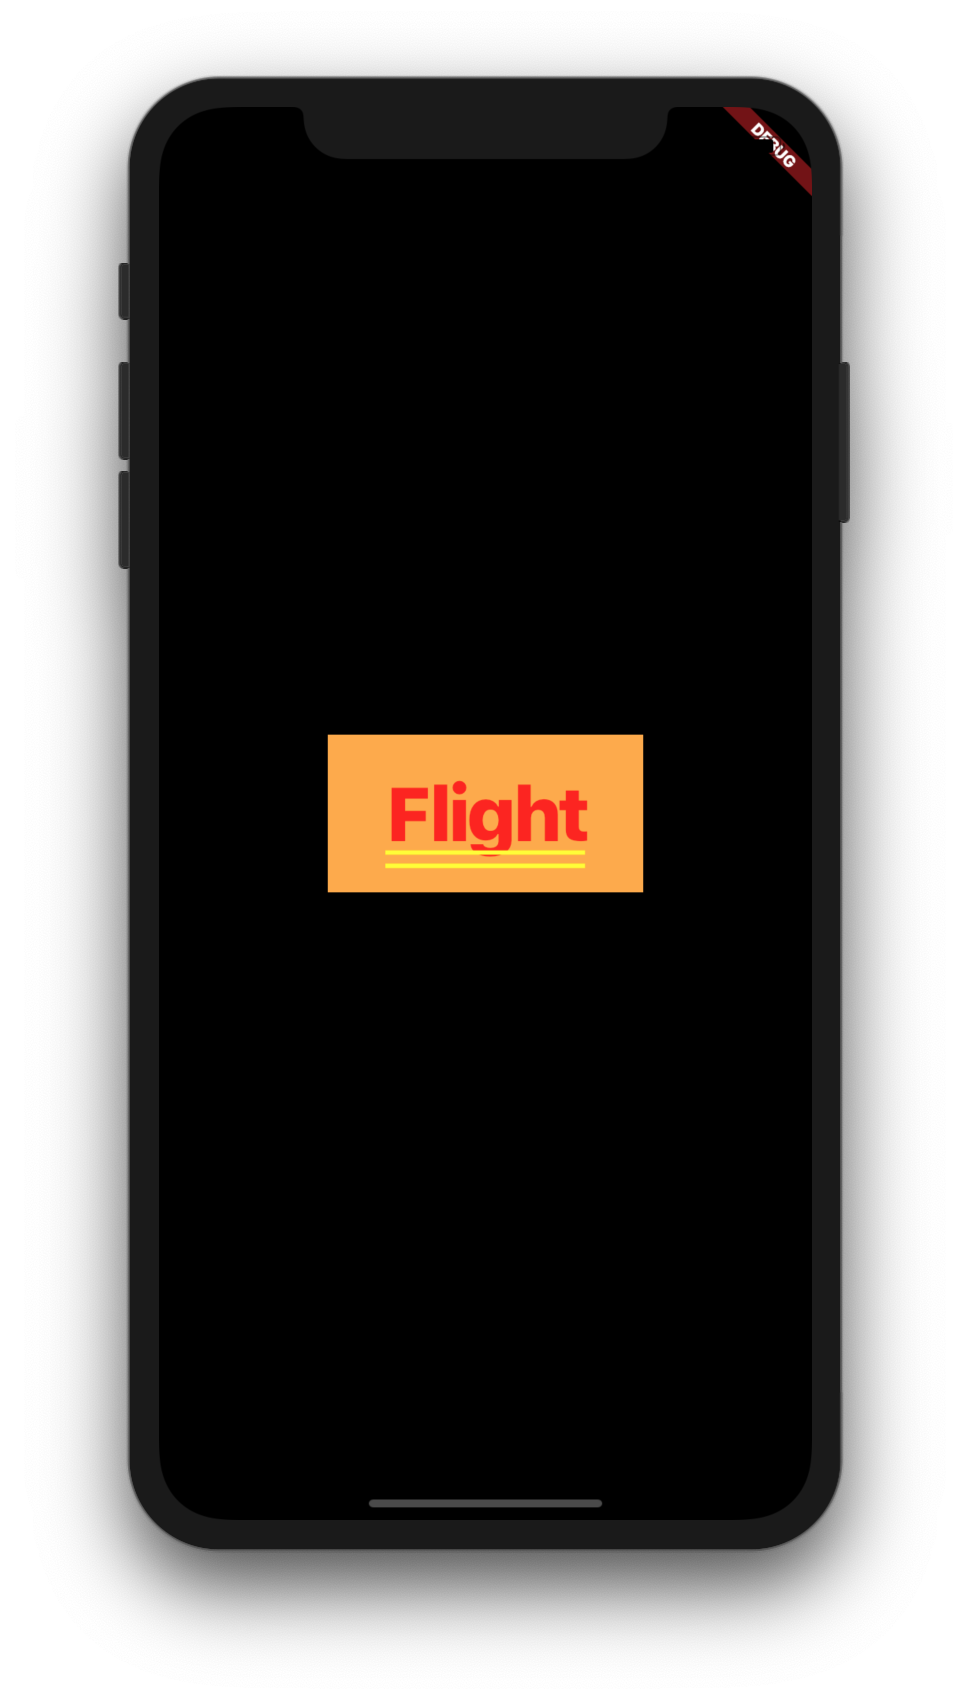
Untuk menambahkan lebar dan tinggi, kita tidak bisa serta merta menambahkan property width and height, namun kita harus memberikan widget lain sebagai parent dari Container widget. Untuk keperluan ini, kita menggunakan Center widget, kemudian tambahkan property width dan heightnya, sehingga home.dart menjadi seperti ini :
home.dart
1 2 3 4 5 6 7 8 9 10 11 12 13 14 15 16 17 18 |
import 'package:flutter/material.dart'; class Home extends StatelessWidget{ @override Widget build(BuildContext context) { // TODO: implement build return Center( child: Container( alignment: Alignment.center, color: Colors.orangeAccent, width: 200.0, height: 100.0, child: Text("Flight", textDirection: TextDirection.ltr,), ), ); } } |
Dan ketika dijalankan :
Margin dan Padding

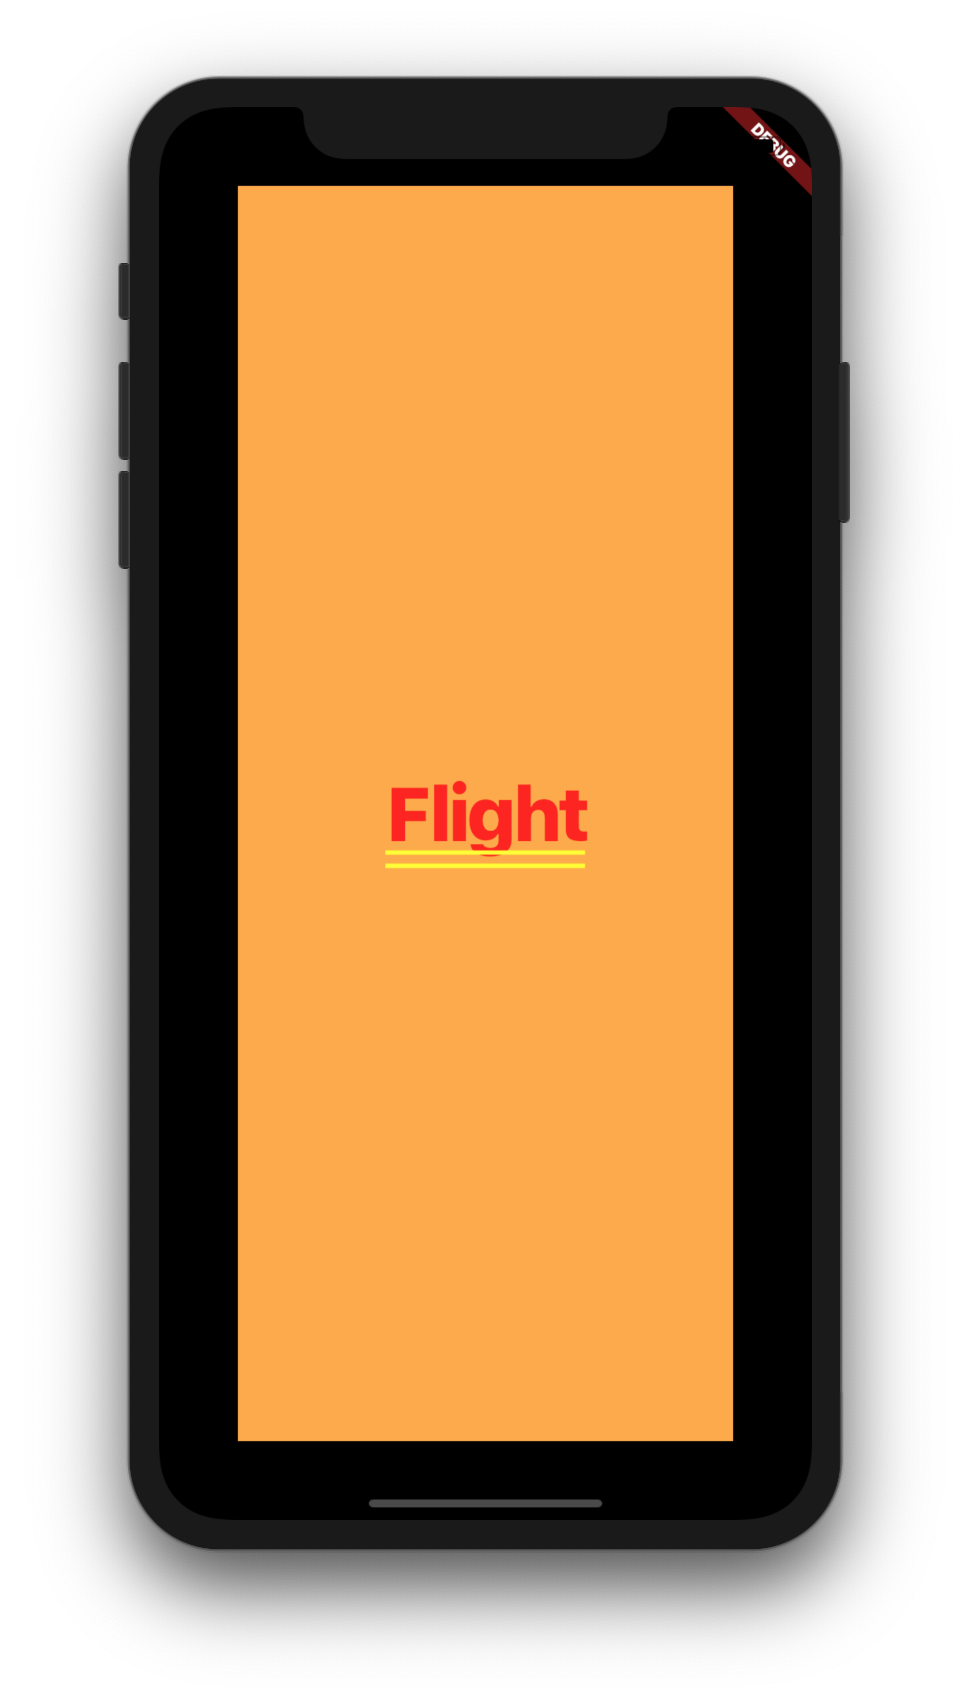
Margin dan Padding yang selama ini kita kenal melalui CSS, pada Flutter kita menggunakan EdgeInsets. Jika semua sisinya valuenya sama, bisa gunakan EdgeInsets.all(15.0). Jika hanya beberapa sisi saja yang akan diberikan margin atau padding, gunakan EdgeInsets.only(top:15.0, left:35.0).
home.dart
1 2 3 4 5 6 7 8 9 10 11 12 13 14 15 16 17 18 19 20 |
import 'package:flutter/material.dart'; class Home extends StatelessWidget{ @override Widget build(BuildContext context) { // TODO: implement build return Center( child: Container( alignment: Alignment.center, color: Colors.orangeAccent, // width: 200.0, // height: 100.0, margin: EdgeInsets.all(50.0), padding: EdgeInsets.all(25.0), child: Text("Flight", textDirection: TextDirection.ltr,), ), ); } } |
Hasilnya :
Memberikan Styling pada Text Widget
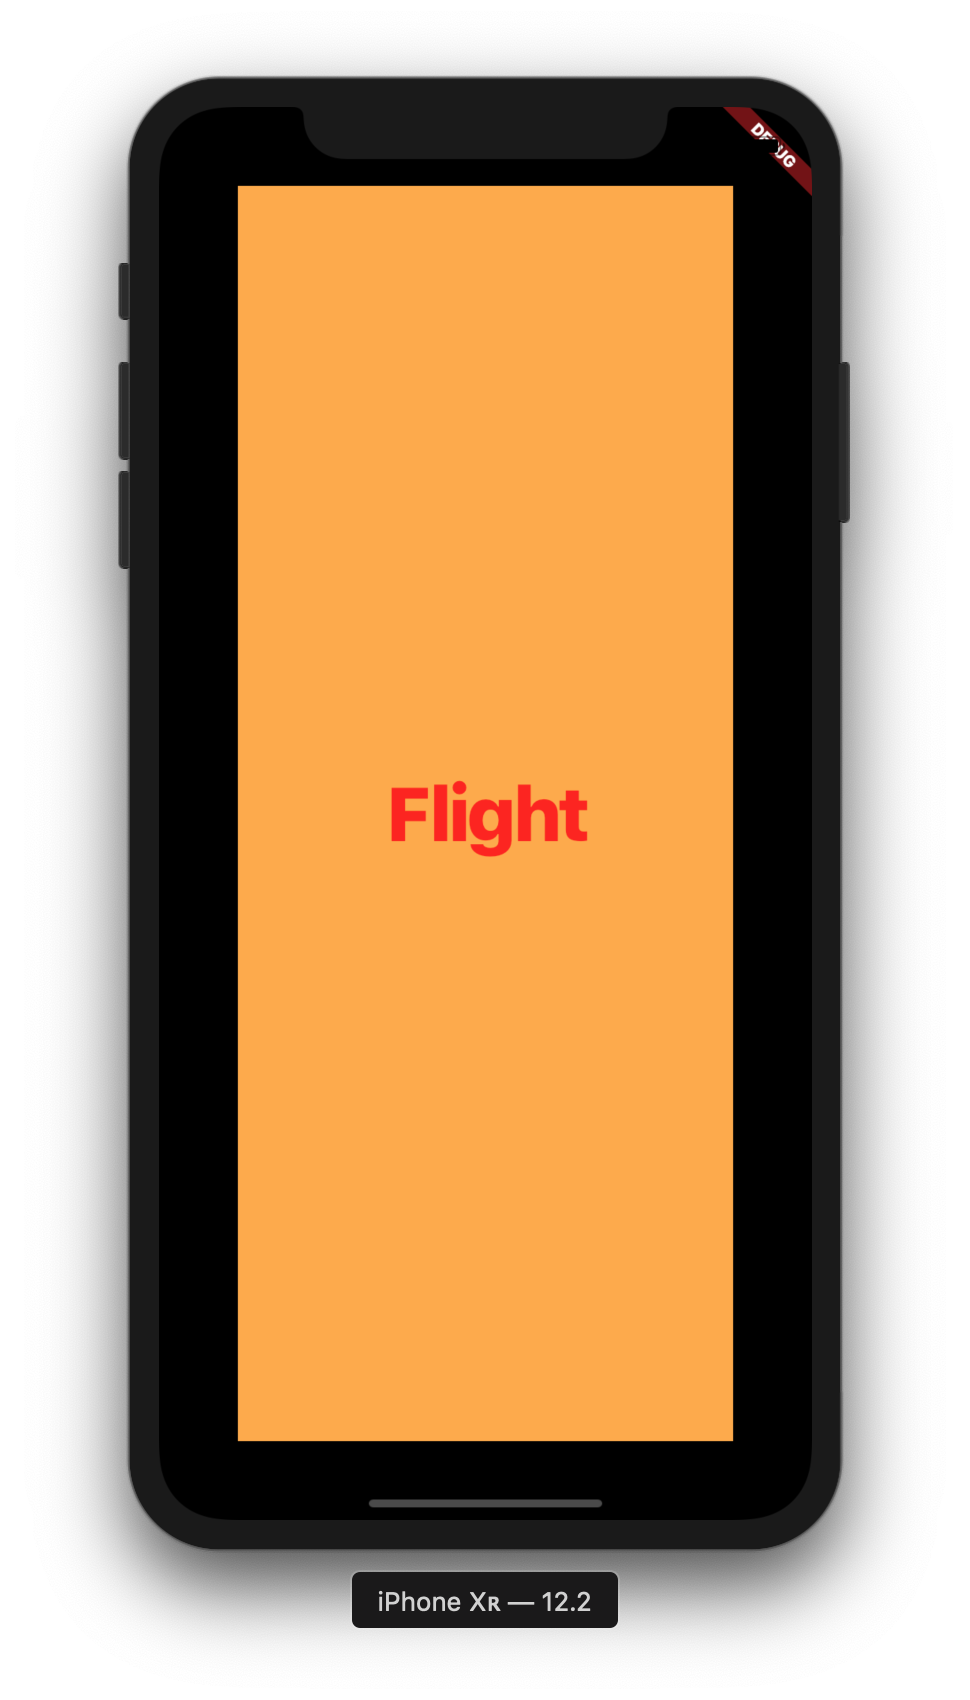
Aplikasi yang sudah kita buat di atas terdapat dua buah garis di bawah tulisan. Dua garis ini adalah hasil dari property style dan TextDecoration pada TextStyle widget. Kita akan menghapus dua garis ini dan mengubah fontSize dengan modifikasi pada home.dart.
home.dart
1 2 3 4 5 6 7 8 9 10 11 12 13 14 15 16 17 18 19 20 21 22 23 24 25 26 27 |
import 'package:flutter/material.dart'; class Home extends StatelessWidget{ @override Widget build(BuildContext context) { // TODO: implement build return Center( child: Container( alignment: Alignment.center, color: Colors.orangeAccent, // width: 200.0, // height: 100.0, margin: EdgeInsets.all(50.0), padding: EdgeInsets.all(25.0), child: Text( "Flight", textDirection: TextDirection.ltr, style: TextStyle( decoration: TextDecoration.none, fontSize: 75.0 ), ), ), ); } } |
Menambahkan Font Family
Untuk menambahkan font, kita harus mendownload nya terlebih dahulu, dan beritahu perubahan tersebut ke dalam file pubspec.yaml.
Download font yang Anda inginkan di fonts.google.com . Setelah download fonts yang diinginkan, unzip file nya dan copy fonts yang ada disana, bisa semua atau sebagian saja. Buat folder fonts di dalam folder aplikasi flutter, dan paste font yang barusan kita copy ke dalam folder tersebut.
Selanjutnya, beritahu penambahan fonts tersebut pada file pubspec.yaml. File ini adalah file yang mengandung file dependencies dan metadata. Ketika kita membuka file ini, sudah terdapat fonts section yang di comment. Silahkan uncomment bagian fonts tersebut.
Pada pubspec.yaml, indentation sangatlah penting. Pastikan memberikan indentasi dua spasi dari ujung kiri file, kalau tidak pasti akan error.
Setiap kali mengubah file pubspec.yaml, kita harus mengklik Get Dependencies supaya perubahan yang kita lakukan bisa berlaku. Selain klik, bisa juga dengan perintah ‘flutter packages get’.
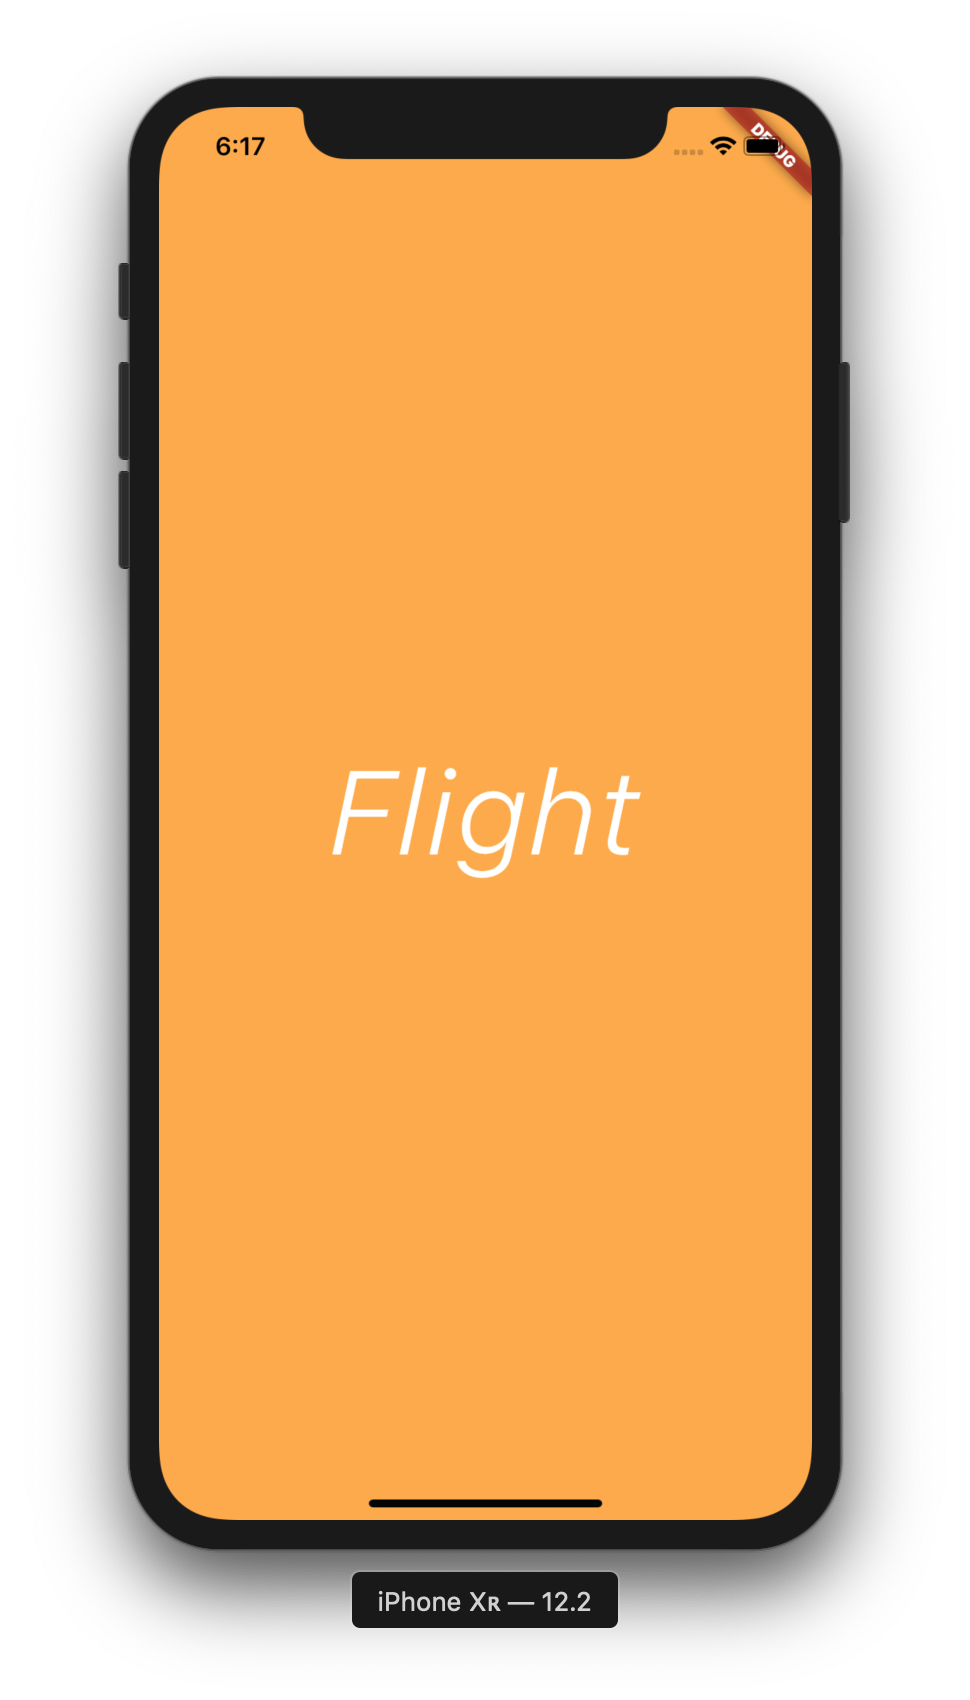
Selanjutnya, panggil fontFamily di dalam home.dart file dan berikan beberapa fontStyle :
1 2 3 4 5 6 7 8 9 10 11 12 13 14 15 16 17 18 19 20 21 22 23 24 25 26 27 28 29 30 31 |
import 'package:flutter/material.dart'; class Home extends StatelessWidget{ @override Widget build(BuildContext context) { // TODO: implement build return Center( child: Container( alignment: Alignment.center, color: Colors.orangeAccent, // width: 200.0, // height: 100.0, // margin: EdgeInsets.all(50.0), // padding: EdgeInsets.all(25.0), child: Text( "Flight", textDirection: TextDirection.ltr, style: TextStyle( decoration: TextDecoration.none, fontSize: 75.0, fontFamily: 'Roboto', fontWeight: FontWeight.w300, fontStyle: FontStyle.italic, color: Colors.white ), ), ), ); } } |
Rows and Columns Widget
Kali ini kita akan mencoba untuk mengerti bagaimana caranya menaruh widget pada Row dan Column widget, dan kita juga akan belajar apa itu expanded widget.

Row Widget
Modifikasi home.dart, kita akan membuat Row widget yang mempunyai dua children, yaitu widget Text dan widget Text. Kalau tulisan terlalu panjang, maka tulisan yang tertera di mobile phone akan terpotong. Untuk mengatasi hal ini, kita akan menggunakan Expanded widget.
Note: Apabila kita menggunakan Android Studio, terdapat kunci keyboard untuk merapikan baris kode, yaitu Alt + Cmd + L pada MacOS atau Alt + Ctrl + L
home.dart
1 2 3 4 5 6 7 8 9 10 11 12 13 14 15 16 17 18 19 20 21 22 23 24 25 26 27 28 29 30 31 32 33 34 35 36 37 38 39 40 41 42 |
import 'package:flutter/material.dart'; class Home extends StatelessWidget { @override Widget build(BuildContext context) { // TODO: implement build return Center( child: Container( alignment: Alignment.center, color: Colors.orangeAccent, child: Row( children: <Widget>[ Text( "Lion Air", textDirection: TextDirection.ltr, style: TextStyle( decoration: TextDecoration.none, fontSize: 35.0, fontFamily: 'Roboto', fontWeight: FontWeight.w300, fontStyle: FontStyle.italic, color: Colors.white), ), Expanded( child: Text( "From Jakarta to Denpasar", textDirection: TextDirection.ltr, style: TextStyle( decoration: TextDecoration.none, fontSize: 35.0, fontFamily: 'Roboto', fontWeight: FontWeight.w300, fontStyle: FontStyle.italic, color: Colors.white), ), ) ], ), ), ); } } |
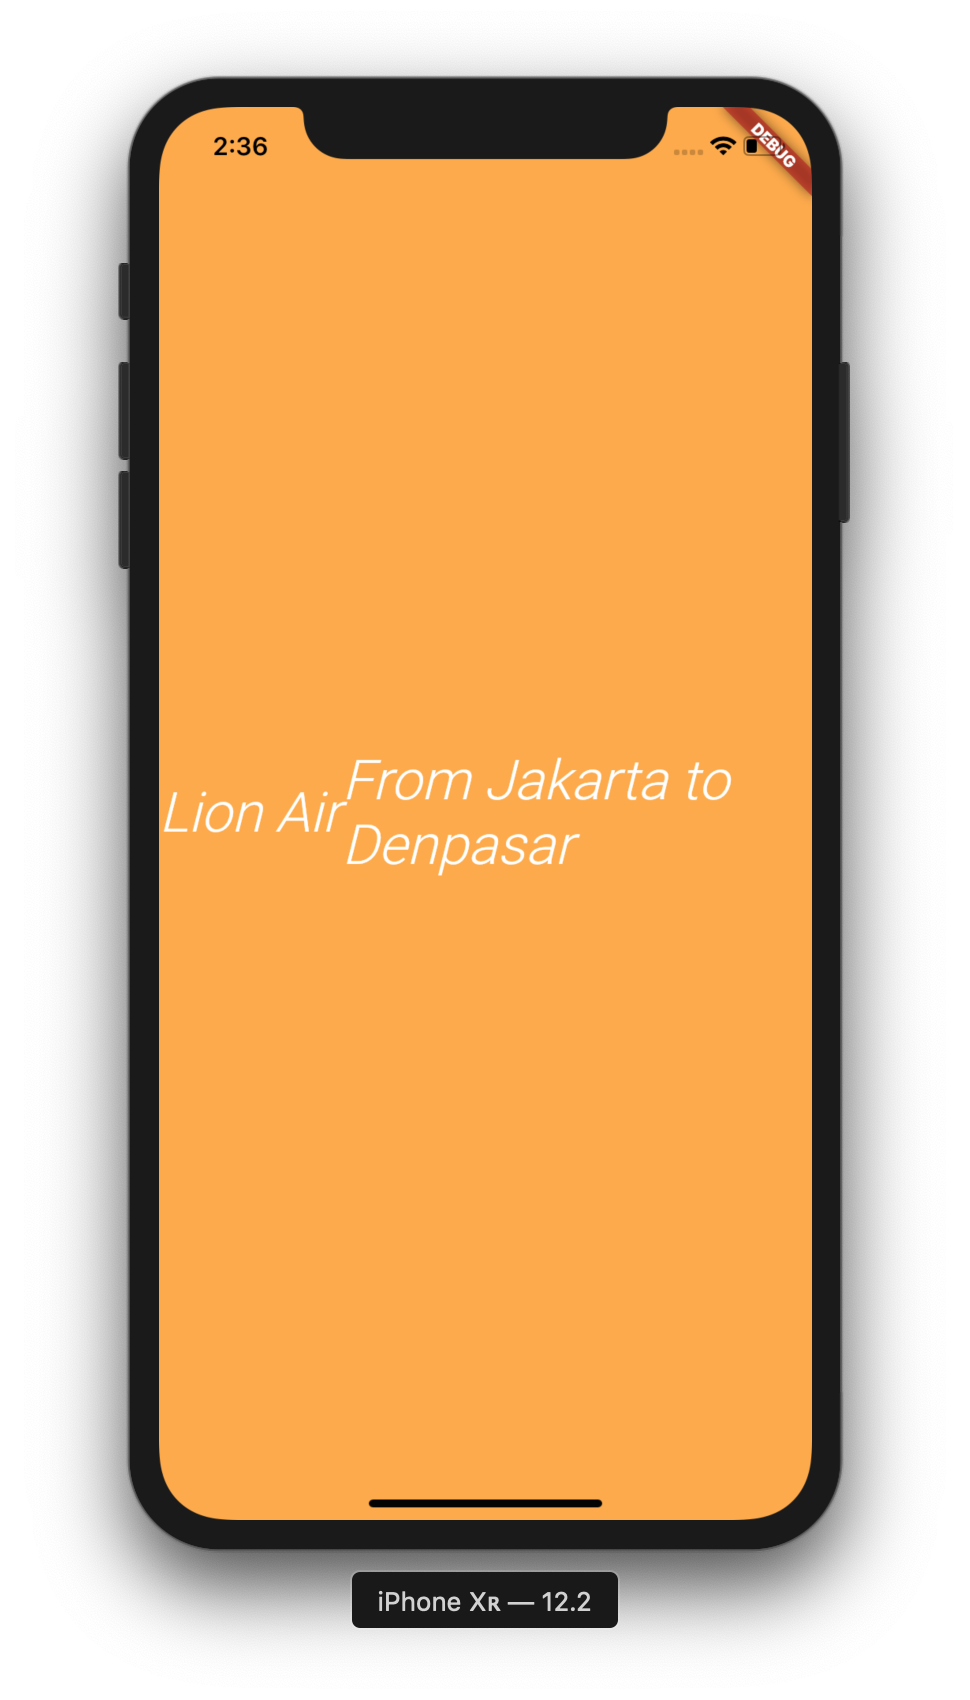
Untuk merapihkan agar tulisan pada kolom 1 dan kolom 2 tidak berdempetan, berikan Expanded widget juga pada Text widget kolom pertama. Selanjutnya kita rapihkan dengan mengecilkan ukuran font pada kolom dua dan hilangkan italic.
Column Widget
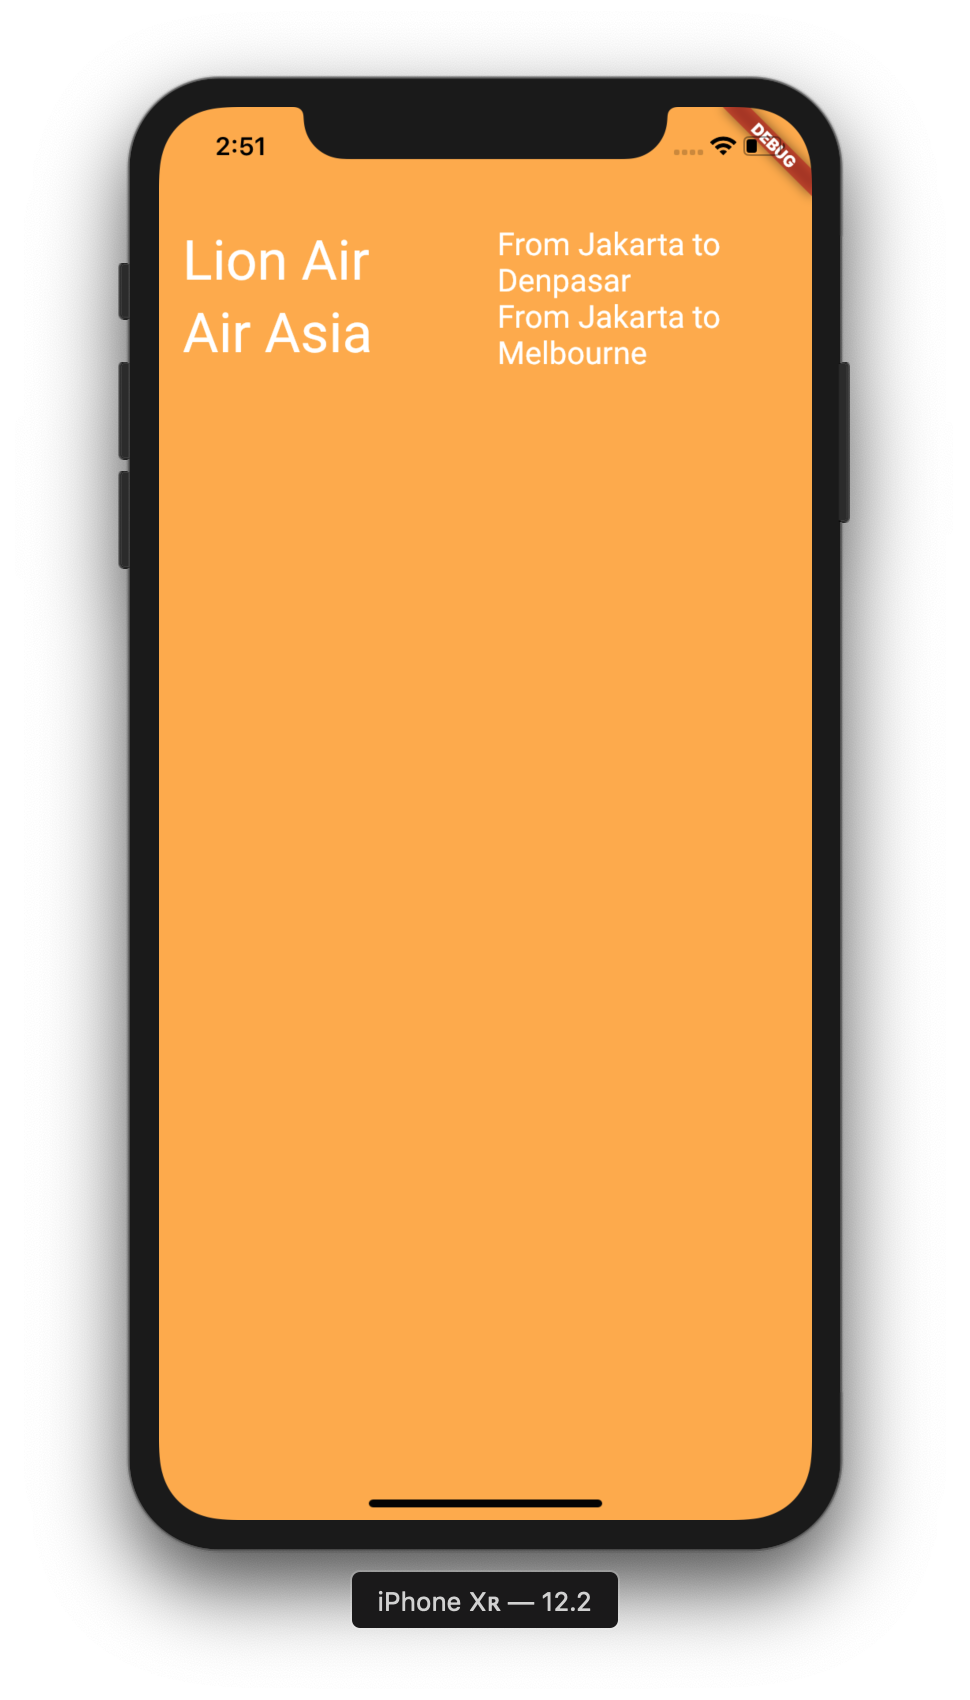
Selanjutnya kita akan menggunakan Column widget, yang akan memiliki children widget-widget yang saling bertumpuk. Di tumpukan paling atas kita akan menaruh Row widget yang sudah kita buat sebelumnya. Widget berikutnya, copy dan paste Row widget dan ganti tulisannya. Tambahkan padding pada container supaya tulisan tidak mepet di atas layar,
1 2 3 4 5 6 7 8 9 10 11 12 13 14 15 16 17 18 19 20 21 22 23 24 25 26 27 28 29 30 31 32 33 34 35 36 37 38 39 40 41 42 43 44 45 46 47 48 49 50 51 52 53 54 55 56 57 58 59 60 61 62 63 64 65 66 67 68 69 70 71 72 73 74 75 |
import 'package:flutter/material.dart'; class Home extends StatelessWidget { @override Widget build(BuildContext context) { // TODO: implement build return Center( child: Container( padding: EdgeInsets.only(left: 15.0, top: 75.0), alignment: Alignment.center, color: Colors.orangeAccent, child: Column( children: <Widget>[ Row( children: <Widget>[ Expanded( child: Text( "Lion Air", textDirection: TextDirection.ltr, style: TextStyle( decoration: TextDecoration.none, fontSize: 35.0, fontFamily: 'Roboto', fontWeight: FontWeight.w400, color: Colors.white), ), ), Expanded( child: Text( "From Jakarta to Denpasar", textDirection: TextDirection.ltr, style: TextStyle( decoration: TextDecoration.none, fontSize: 20.0, fontFamily: 'Roboto', fontWeight: FontWeight.w400, color: Colors.white), ), ) ], ), Row( children: <Widget>[ Expanded( child: Text( "Air Asia", textDirection: TextDirection.ltr, style: TextStyle( decoration: TextDecoration.none, fontSize: 35.0, fontFamily: 'Roboto', fontWeight: FontWeight.w400, color: Colors.white), ), ), Expanded( child: Text( "From Jakarta to Melbourne", textDirection: TextDirection.ltr, style: TextStyle( decoration: TextDecoration.none, fontSize: 20.0, fontFamily: 'Roboto', fontWeight: FontWeight.w400, color: Colors.white), ), ) ], ), ], ), ), ); } } |
Flutter Image Assets
Kita akan belajar bagaimana menggunakan image pada aplikasi flutter yang kita buat dengan cara load image tersebut dari asset. Asset adalah resource yang bisa kita tambahkan di folder local.
Pertama-tama, buatlah folder baru dan beri nama images, dan taruh gambar yang kita inginkan di folder tersebut. Selanjutnya buka pubspec.yaml file dan registrasi image tersebut. Karena ada perubahan pada pubspec file, kita klik juga Get Dependencies.
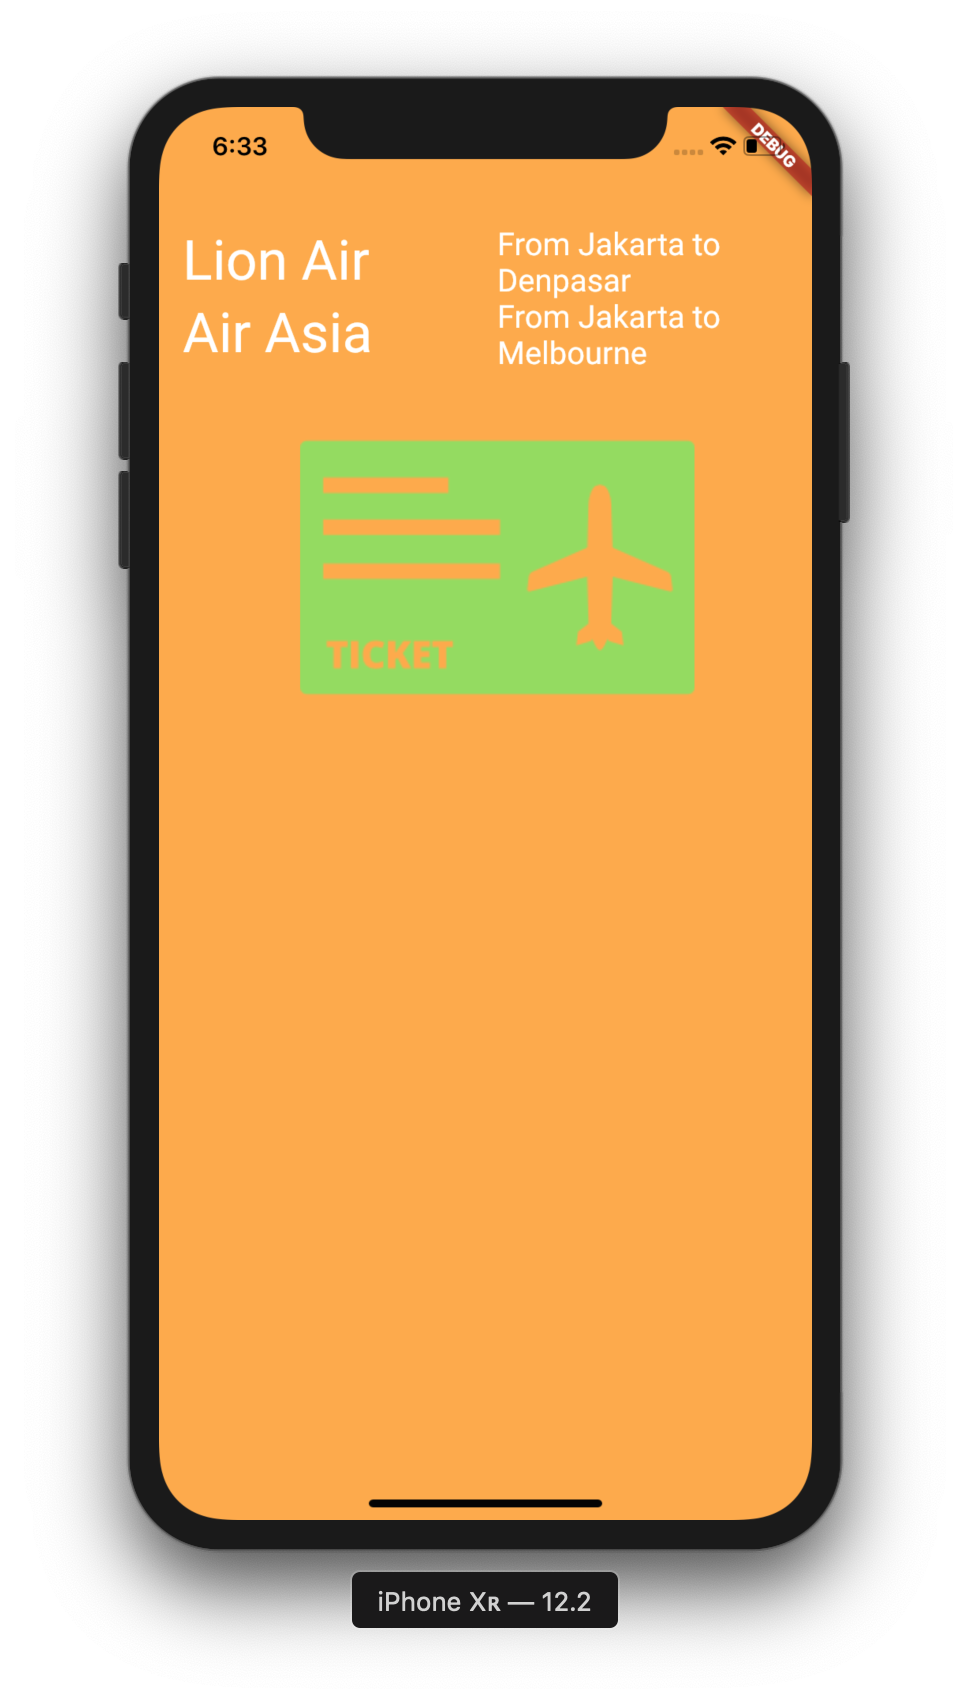
Kita akan menampilkan image di baris ketiga dari Column widget. Sebelumnya di baris paling bawah, buat class baru yaitu FlightImageAsset.
pubspec.yaml
1 2 3 4 5 6 7 8 9 10 11 12 13 14 15 16 17 18 19 20 21 22 23 24 25 26 27 28 29 30 31 32 33 34 35 36 37 38 39 40 41 42 43 44 45 46 47 48 49 50 51 52 53 54 55 56 57 58 59 60 61 62 63 64 65 66 67 68 69 70 71 72 73 74 75 |
name: aplikasi_flutter description: Sebuah Aplikasi Flutter # The following defines the version and build number for your application. # A version number is three numbers separated by dots, like 1.2.43 # followed by an optional build number separated by a +. # Both the version and the builder number may be overridden in flutter # build by specifying --build-name and --build-number, respectively. # In Android, build-name is used as versionName while build-number used as versionCode. # Read more about Android versioning at https://developer.android.com/studio/publish/versioning # In iOS, build-name is used as CFBundleShortVersionString while build-number used as CFBundleVersion. # Read more about iOS versioning at # https://developer.apple.com/library/archive/documentation/General/Reference/InfoPlistKeyReference/Articles/CoreFoundationKeys.html version: 1.0.0+1 environment: sdk: ">=2.1.0 <3.0.0" dependencies: flutter: sdk: flutter # The following adds the Cupertino Icons font to your application. # Use with the CupertinoIcons class for iOS style icons. cupertino_icons: ^0.1.2 dev_dependencies: flutter_test: sdk: flutter # For information on the generic Dart part of this file, see the # following page: https://www.dartlang.org/tools/pub/pubspec # The following section is specific to Flutter. flutter: # The following line ensures that the Material Icons font is # included with your application, so that you can use the icons in # the material Icons class. uses-material-design: true # To add assets to your application, add an assets section, like this: assets: - images/flight.png # - images/a_dot_ham.jpeg # An image asset can refer to one or more resolution-specific "variants", see # https://flutter.dev/assets-and-images/#resolution-aware. # For details regarding adding assets from package dependencies, see # https://flutter.dev/assets-and-images/#from-packages # To add custom fonts to your application, add a fonts section here, # in this "flutter" section. Each entry in this list should have a # "family" key with the font family name, and a "fonts" key with a # list giving the asset and other descriptors for the font. For # example: fonts: - family: Roboto fonts: - asset: fonts/Roboto-Regular.ttf - asset: fonts/Roboto-Bold.ttf weight: 700 - asset: fonts/Roboto-Light.ttf style: italic weight: 300 # - family: Trajan Pro # fonts: # - asset: fonts/TrajanPro.ttf # - asset: fonts/TrajanPro_Bold.ttf # weight: 700 # # For details regarding fonts from package dependencies, # see https://flutter.dev/custom-fonts/#from-packages |
home.dart
1 2 3 4 5 6 7 8 9 10 11 12 13 14 15 16 17 18 19 20 21 22 23 24 25 26 27 28 29 30 31 32 33 34 35 36 37 38 39 40 41 42 43 44 45 46 47 48 49 50 51 52 53 54 55 56 57 58 59 60 61 62 63 64 65 66 67 68 69 70 71 72 73 74 75 76 77 78 79 80 81 82 83 84 85 |
import 'package:flutter/material.dart'; class Home extends StatelessWidget { @override Widget build(BuildContext context) { // TODO: implement build return Center( child: Container( padding: EdgeInsets.only(left: 15.0, top: 75.0), alignment: Alignment.center, color: Colors.orangeAccent, child: Column( children: <Widget>[ Row( children: <Widget>[ Expanded( child: Text( "Lion Air", textDirection: TextDirection.ltr, style: TextStyle( decoration: TextDecoration.none, fontSize: 35.0, fontFamily: 'Roboto', fontWeight: FontWeight.w400, color: Colors.white), ), ), Expanded( child: Text( "From Jakarta to Denpasar", textDirection: TextDirection.ltr, style: TextStyle( decoration: TextDecoration.none, fontSize: 20.0, fontFamily: 'Roboto', fontWeight: FontWeight.w400, color: Colors.white), ), ) ], ), Row( children: <Widget>[ Expanded( child: Text( "Air Asia", textDirection: TextDirection.ltr, style: TextStyle( decoration: TextDecoration.none, fontSize: 35.0, fontFamily: 'Roboto', fontWeight: FontWeight.w400, color: Colors.white), ), ), Expanded( child: Text( "From Jakarta to Melbourne", textDirection: TextDirection.ltr, style: TextStyle( decoration: TextDecoration.none, fontSize: 20.0, fontFamily: 'Roboto', fontWeight: FontWeight.w400, color: Colors.white), ), ) ], ), FlightImageAsset() ], ), ), ); } } class FlightImageAsset extends StatelessWidget { @override Widget build(BuildContext context) { AssetImage assetImage = AssetImage('images/flight.png'); Image image = Image(image: assetImage, width: 250.0, height: 250.0); return Container(child: image); } } |
Raised Button and Alert Dialog Widgets
Raised Button
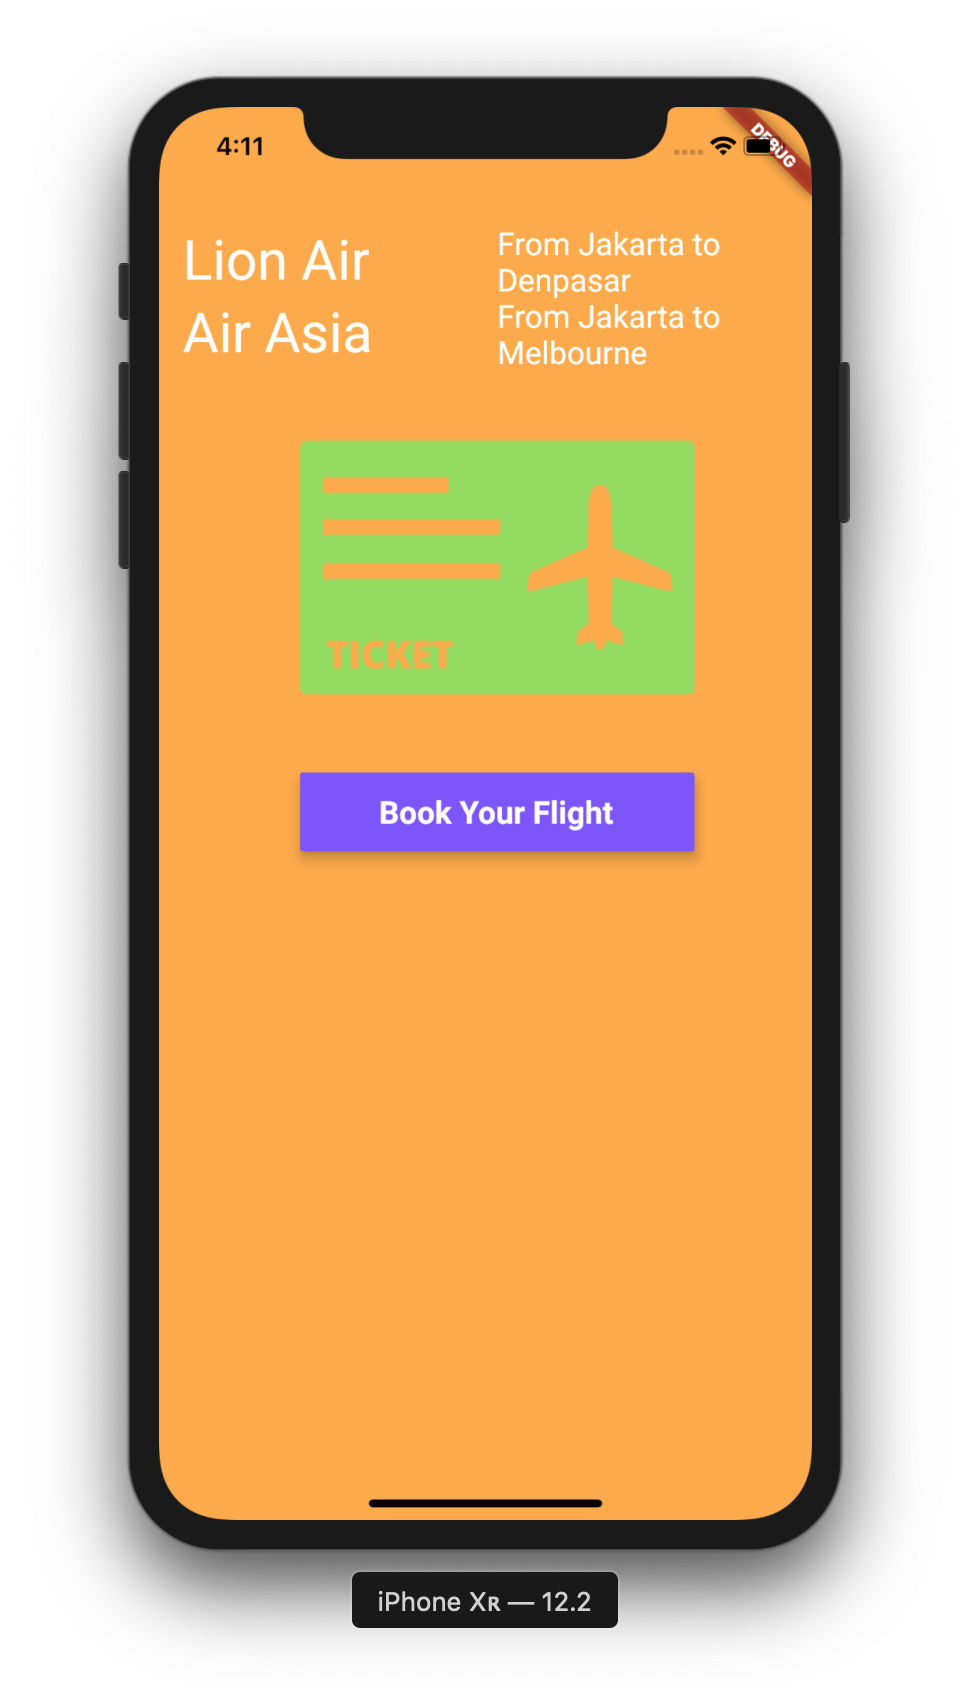
Selanjutnya, kita akan membuat tombol Book Your Flight sebagai row ke empat pada aplikasi. Kita membuat class baru yaitu FlightBookButton untuk mengakomodir hal ini. Class ini menghasilkan Container widget yang berisi Raised Button sebagai childnya, widget RaisedButton ini memiliki Text widget sebagai childnya. Tambahkan sedikit margin, panjang dan lebar button, berikan warna putih untuk tulisan pada button.
home.dart
1 2 3 4 5 6 7 8 9 10 11 12 13 14 15 16 17 18 19 20 21 22 23 24 25 26 27 28 29 30 31 32 33 34 35 36 37 38 39 40 41 42 43 44 45 46 47 48 49 50 51 52 53 54 55 56 57 58 59 60 61 62 63 64 65 66 67 68 69 70 71 72 73 74 75 76 77 78 79 80 81 82 83 84 85 86 87 88 89 90 91 92 93 94 95 96 97 98 99 100 101 102 103 104 105 106 107 108 109 110 111 112 |
import 'package:flutter/material.dart'; class Home extends StatelessWidget { @override Widget build(BuildContext context) { // TODO: implement build return Center( child: Container( padding: EdgeInsets.only(left: 15.0, top: 75.0), alignment: Alignment.center, color: Colors.orangeAccent, child: Column( children: <Widget>[ Row( children: <Widget>[ Expanded( child: Text( "Lion Air", textDirection: TextDirection.ltr, style: TextStyle( decoration: TextDecoration.none, fontSize: 35.0, fontFamily: 'Roboto', fontWeight: FontWeight.w400, color: Colors.white), ), ), Expanded( child: Text( "From Jakarta to Denpasar", textDirection: TextDirection.ltr, style: TextStyle( decoration: TextDecoration.none, fontSize: 20.0, fontFamily: 'Roboto', fontWeight: FontWeight.w400, color: Colors.white), ), ) ], ), Row( children: <Widget>[ Expanded( child: Text( "Air Asia", textDirection: TextDirection.ltr, style: TextStyle( decoration: TextDecoration.none, fontSize: 35.0, fontFamily: 'Roboto', fontWeight: FontWeight.w400, color: Colors.white), ), ), Expanded( child: Text( "From Jakarta to Melbourne", textDirection: TextDirection.ltr, style: TextStyle( decoration: TextDecoration.none, fontSize: 20.0, fontFamily: 'Roboto', fontWeight: FontWeight.w400, color: Colors.white), ), ) ], ), FlightImageAsset(), FlightBookButton() ], ), ), ); } } class FlightImageAsset extends StatelessWidget { @override Widget build(BuildContext context) { AssetImage assetImage = AssetImage('images/flight.png'); Image image = Image(image: assetImage, width: 250.0, height: 250.0); return Container(child: image); } } class FlightBookButton extends StatelessWidget { @override Widget build(BuildContext context) { // TODO: implement build return Container( margin: EdgeInsets.only(top: 5.0), width: 250.0, height: 50.0, child: RaisedButton( color: Colors.deepPurpleAccent, elevation: 6.0, child: Text( "Book Your Flight", style: TextStyle( color: Colors.white, fontSize: 20.0, fontFamily: 'Roboto', fontWeight: FontWeight.w700), ), onPressed: () { //Function when the button is pressed }), ); } } |
Alert Dialog
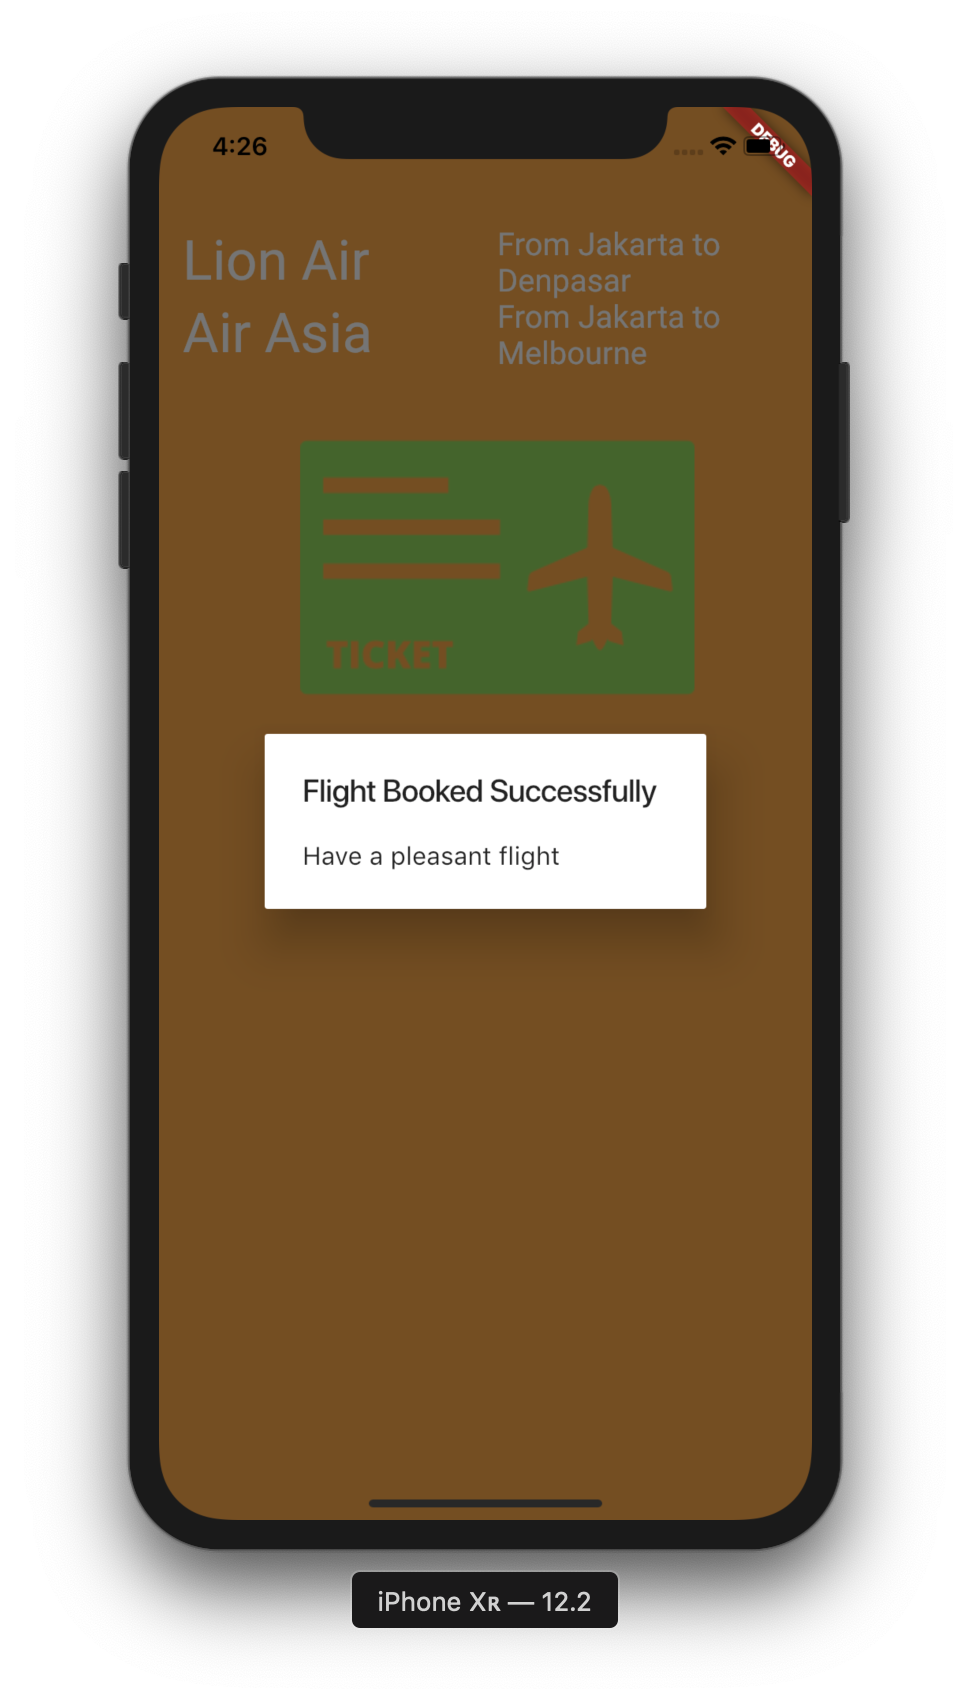
Selanjutnya, kita akan memberikan event ketika tombol tersebut di tekan, dengan memberikan fungsi pada onPressed property milik RaisedButton widget. Kita akan memberikan widget AlertDialog ketika button di tekan.
home.dart
1 2 3 4 5 6 7 8 9 10 11 12 13 14 15 16 17 18 19 20 21 22 23 24 25 26 27 28 29 30 31 32 33 34 35 36 37 38 39 40 41 42 43 44 45 46 47 48 49 50 51 52 53 54 55 56 57 58 59 60 61 62 63 64 65 66 67 68 69 70 71 72 73 74 75 76 77 78 79 80 81 82 83 84 85 86 87 88 89 90 91 92 93 94 95 96 97 98 99 100 101 102 103 104 105 106 107 108 109 110 111 112 113 114 115 116 117 118 119 120 121 122 123 |
import 'package:flutter/material.dart'; class Home extends StatelessWidget { @override Widget build(BuildContext context) { // TODO: implement build return Center( child: Container( padding: EdgeInsets.only(left: 15.0, top: 75.0), alignment: Alignment.center, color: Colors.orangeAccent, child: Column( children: <Widget>[ Row( children: <Widget>[ Expanded( child: Text( "Lion Air", textDirection: TextDirection.ltr, style: TextStyle( decoration: TextDecoration.none, fontSize: 35.0, fontFamily: 'Roboto', fontWeight: FontWeight.w400, color: Colors.white), ), ), Expanded( child: Text( "From Jakarta to Denpasar", textDirection: TextDirection.ltr, style: TextStyle( decoration: TextDecoration.none, fontSize: 20.0, fontFamily: 'Roboto', fontWeight: FontWeight.w400, color: Colors.white), ), ) ], ), Row( children: <Widget>[ Expanded( child: Text( "Air Asia", textDirection: TextDirection.ltr, style: TextStyle( decoration: TextDecoration.none, fontSize: 35.0, fontFamily: 'Roboto', fontWeight: FontWeight.w400, color: Colors.white), ), ), Expanded( child: Text( "From Jakarta to Melbourne", textDirection: TextDirection.ltr, style: TextStyle( decoration: TextDecoration.none, fontSize: 20.0, fontFamily: 'Roboto', fontWeight: FontWeight.w400, color: Colors.white), ), ) ], ), FlightImageAsset(), FlightBookButton() ], ), ), ); } } class FlightImageAsset extends StatelessWidget { @override Widget build(BuildContext context) { AssetImage assetImage = AssetImage('images/flight.png'); Image image = Image(image: assetImage, width: 250.0, height: 250.0); return Container(child: image); } } class FlightBookButton extends StatelessWidget { @override Widget build(BuildContext context) { // TODO: implement build return Container( margin: EdgeInsets.only(top: 5.0), width: 250.0, height: 50.0, child: RaisedButton( color: Colors.deepPurpleAccent, elevation: 6.0, child: Text( "Book Your Flight", style: TextStyle( color: Colors.white, fontSize: 20.0, fontFamily: 'Roboto', fontWeight: FontWeight.w700), ), onPressed: () => bookFlight(context) ), ); } void bookFlight(BuildContext context) { var alertDialog = AlertDialog( title: Text("Flight Booked Successfully"), content: Text("Have a pleasant flight"), ); showDialog( context: context, builder: (BuildContext context) => alertDialog ); } } |
ListView
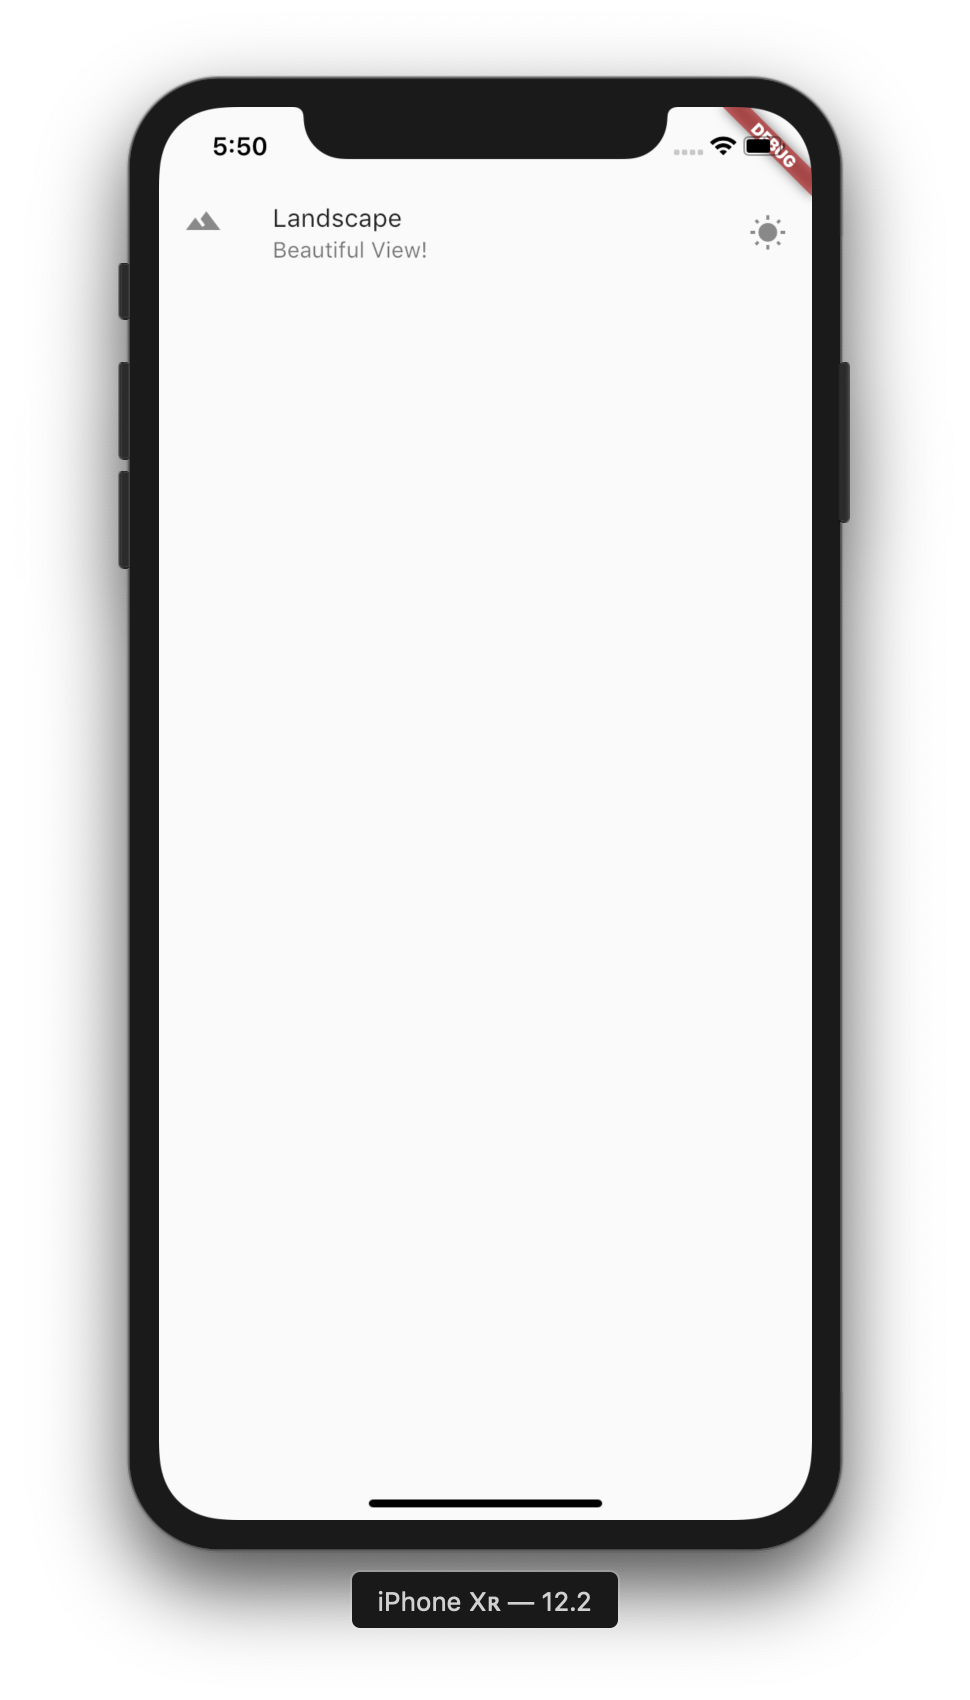
Selanjutnya kita akan membuat Simple ListView. Di bagian ini kita akan mempelajari beberapa widget seperti Scaffold, ListView, ListTile, Icon, dengan property seperti leading, trailing, title, subtitle, onTap. ListView ini dimunculkan ketika aplikasi dibuka, sehingga kita akan melakukan modifikasi pada main.dart.
Kita menggunakan widget Scaffold supaya apabila datanya panjang, tidak akan terjadi overflow.
main.dart
1 2 3 4 5 6 7 8 9 10 11 12 13 14 15 16 17 18 19 20 21 22 23 24 25 26 |
import 'package:flutter/material.dart'; import './app_screens/home.dart'; void main(){ runApp(MaterialApp( title: 'Flutter Widget', home: Scaffold( body: getListView(), ), )); } Widget getListView(){ var listView = ListView( children: <Widget>[ ListTile( leading: Icon(Icons.landscape), title: Text("Landscape"), subtitle: Text("Beautiful View!"), trailing: Icon(Icons.wb_sunny), ) ], ); return listView; } |
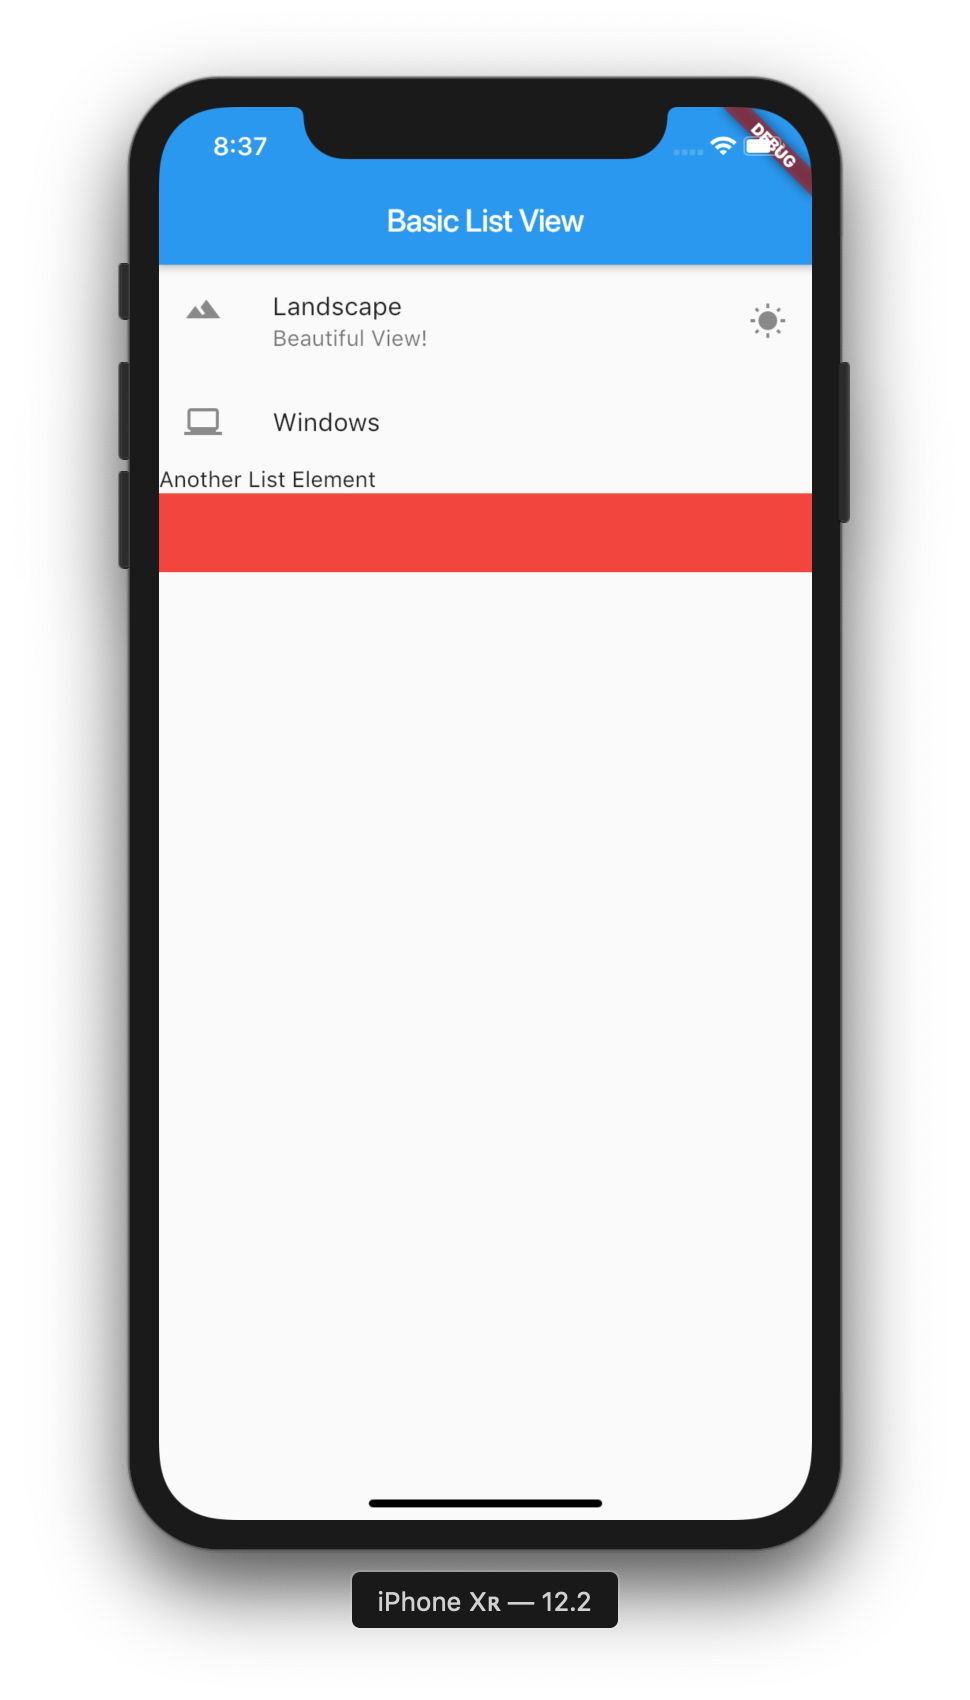
Tambahkan AppBar pada scaffold supaya lebih rapi. Kita juga bisa menambahkan Container maupun text di dalam ListView :
main.dart
1 2 3 4 5 6 7 8 9 10 11 12 13 14 15 16 17 18 19 20 21 22 23 24 25 26 27 28 29 30 31 32 33 34 35 36 37 38 39 40 41 42 43 44 |
import 'package:flutter/material.dart'; import './app_screens/home.dart'; void main() { runApp(MaterialApp( title: 'Flutter Widget', home: Scaffold( appBar: AppBar( title: Text("Basic List View"), ), body: getListView(), ), )); } Widget getListView() { var listView = ListView( children: <Widget>[ ListTile( leading: Icon(Icons.landscape), title: Text("Landscape"), subtitle: Text("Beautiful View!"), trailing: Icon(Icons.wb_sunny), onTap: () { debugPrint("Tapped!"); }, ), ListTile( leading: Icon(Icons.laptop_windows), title: Text("Windows"), onTap: () { debugPrint("Laptop Tapped!"); }, ), Text("Another List Element"), Container( color: Colors.red, height: 50.0, ) ], ); return listView; } |
LongList Widget
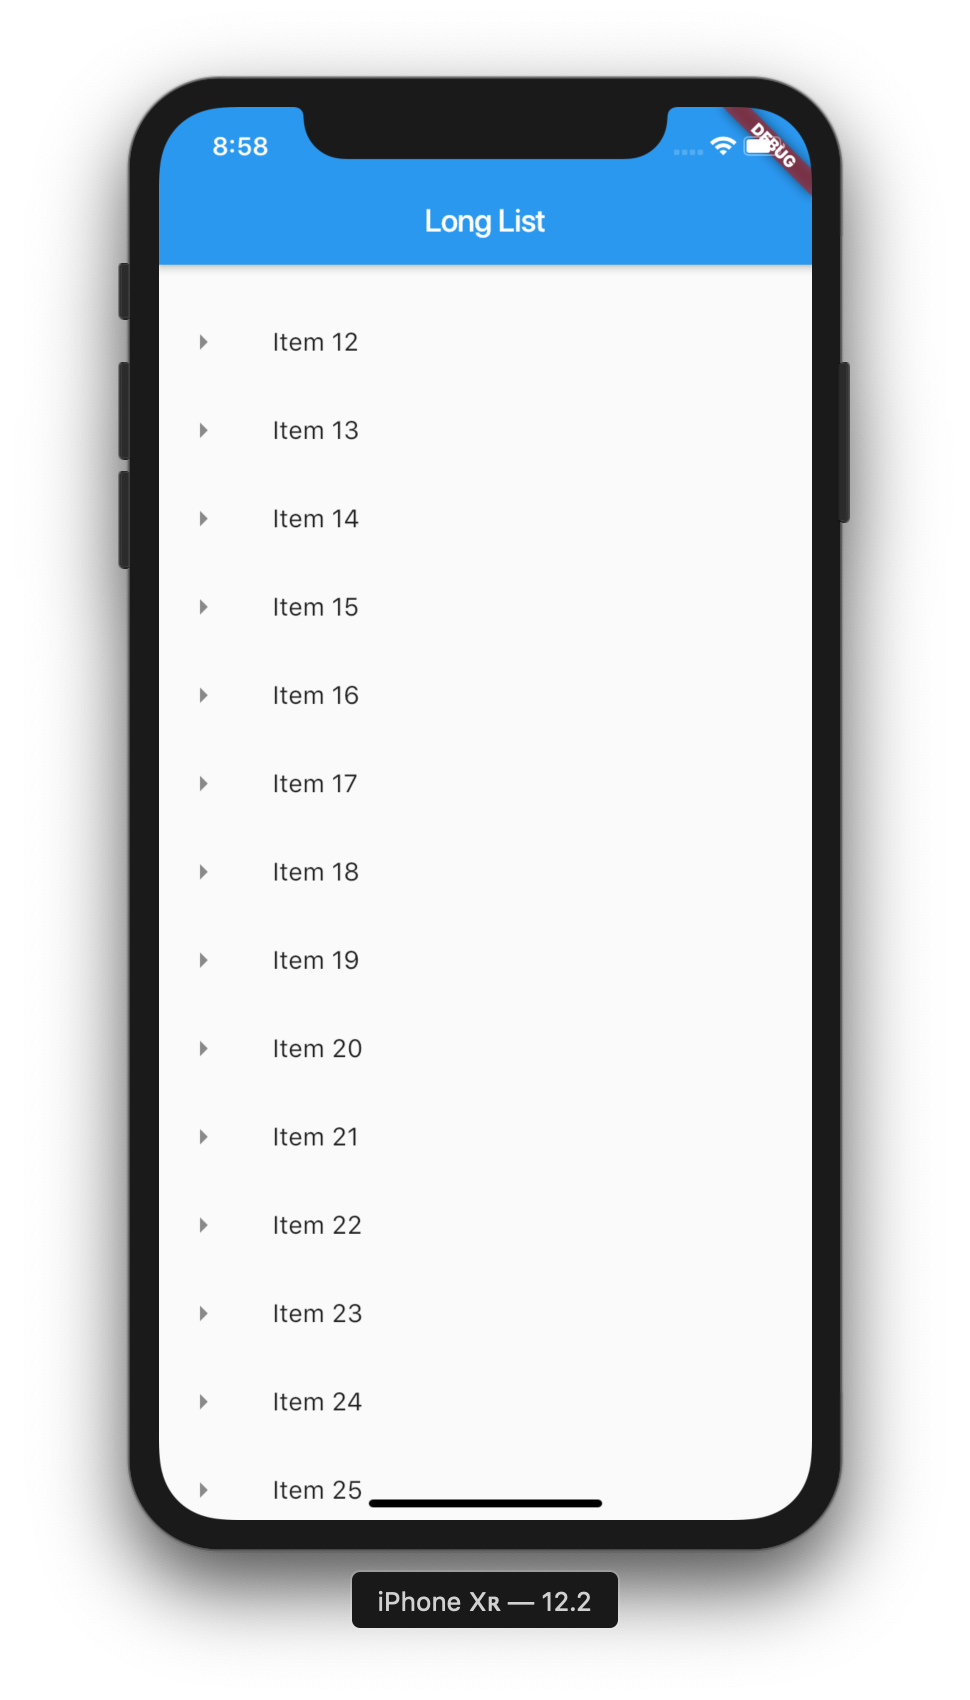
ListView widget yang kita bahas sebelumnya tidak cocok digunakan untuk data yang panjang, karena tidak memory efficient. Karena itu, kita dapat menggunakan widget lain yaitu LongList widget. Langkah langkahnya adalah menyiapkan sumber data, konversi data tersebut menjadi widget, dan yang terakhir adalah menjadikan array of widgets itu menjadi child dari ListView.
Kita akan membuat 1000 data di main.dart :
main.dart
1 2 3 4 5 6 7 8 9 10 11 12 13 14 15 16 17 18 19 20 21 22 23 24 25 26 27 28 29 30 31 32 33 34 35 |
import 'package:flutter/material.dart'; import './app_screens/home.dart'; void main() { runApp(MaterialApp( title: 'Flutter Widget', home: Scaffold( appBar: AppBar( title: Text("Long List"), ), body: getListView(), ), )); } List<String> getListElements() { var items = List<String>.generate(1000, (counter) => "Item $counter"); return items; } Widget getListView() { var listItems = getListElements(); var listView = ListView.builder(itemBuilder: (context, index) { return ListTile( leading: Icon(Icons.arrow_right), title: Text(listItems[index]), onTap: () { debugPrint('${listItems[index]} was tapped'); }, ); }); return listView; } |
Floating Action Button and Snackbar Widget
Floating Action Button
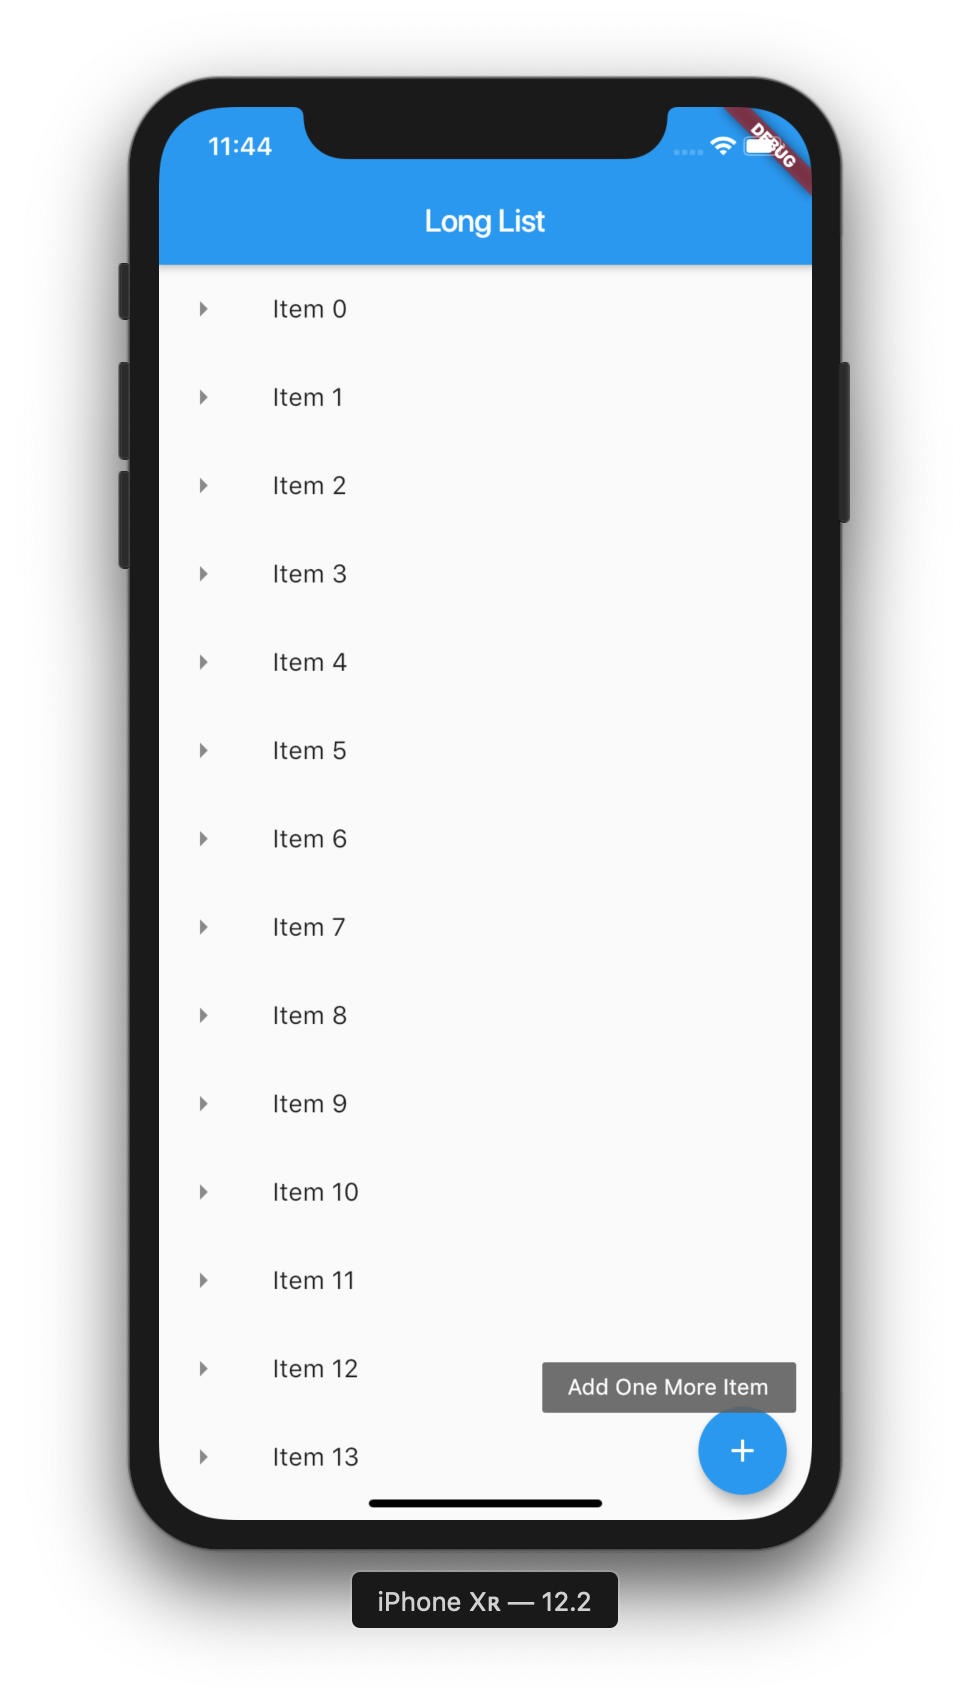
Kita akan menaruh Floating Action Button di dalam aplikasi LongList yang sudah kita buat. Taruh FloatingActionButton widget di dalam Scaffold widget. Floating Action Button akan muncul di sebelah kanan bawah. Tulisan pada tooltip akan muncul ketika kita menahan tombol FAB :
main.dart
1 2 3 4 5 6 7 8 9 10 11 12 13 14 15 16 17 18 19 20 21 22 23 24 25 26 27 28 29 30 31 32 33 34 35 36 37 38 39 40 |
import 'package:flutter/material.dart'; import './app_screens/home.dart'; void main() { runApp(MaterialApp( title: 'Flutter Widget', home: Scaffold( appBar: AppBar( title: Text("Long List"), ), body: getListView(), floatingActionButton: FloatingActionButton( onPressed: null, child: Icon(Icons.add), tooltip: "Add One More Item", ), ), )); } List<String> getListElements() { var items = List<String>.generate(1000, (counter) => "Item $counter"); return items; } Widget getListView() { var listItems = getListElements(); var listView = ListView.builder(itemBuilder: (context, index) { return ListTile( leading: Icon(Icons.arrow_right), title: Text(listItems[index]), onTap: () { debugPrint('${listItems[index]} was tapped'); }, ); }); return listView; } |
SnackBar Widget
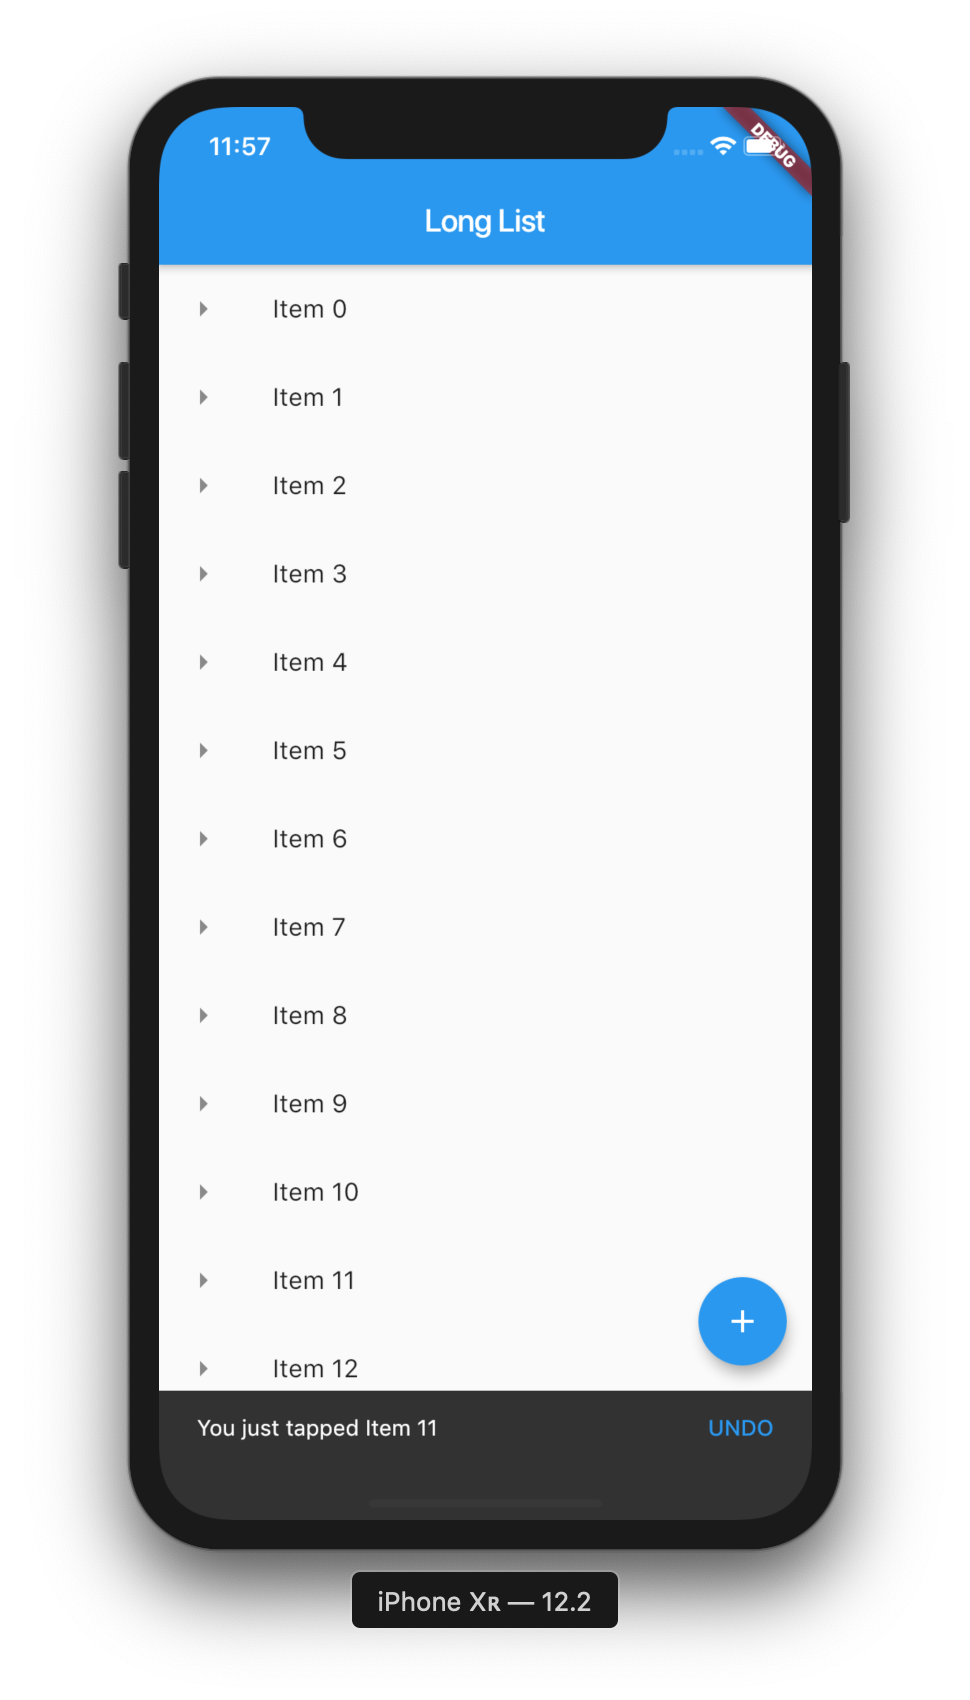
Pertama – tama, kita akan membuat function untuk menampilkan Snackbar, modifikasi beberapa baris kode dari getListView, jalankan program dan seperti ini hasilnya :
main.dart
1 2 3 4 5 6 7 8 9 10 11 12 13 14 15 16 17 18 19 20 21 22 23 24 25 26 27 28 29 30 31 32 33 34 35 36 37 38 39 40 41 42 43 44 45 46 47 48 |
import 'package:flutter/material.dart'; import './app_screens/home.dart'; void main() { runApp(MaterialApp( title: 'Flutter Widget', home: Scaffold( appBar: AppBar( title: Text("Long List"), ), body: getListView(), floatingActionButton: FloatingActionButton( onPressed: () { debugPrint("Working"); }, child: Icon(Icons.add), tooltip: "Add One More Item", ), ), )); } void showSnackBar(BuildContext context, String item) { var snackBar = SnackBar(content: Text("You just tapped $item")); Scaffold.of(context).showSnackBar(snackBar); } List<String> getListElements() { var items = List<String>.generate(1000, (counter) => "Item $counter"); return items; } Widget getListView() { var listItems = getListElements(); var listView = ListView.builder(itemBuilder: (context, index) { return ListTile( leading: Icon(Icons.arrow_right), title: Text(listItems[index]), onTap: () { showSnackBar(context, listItems[index]); }, ); }); return listView; } |
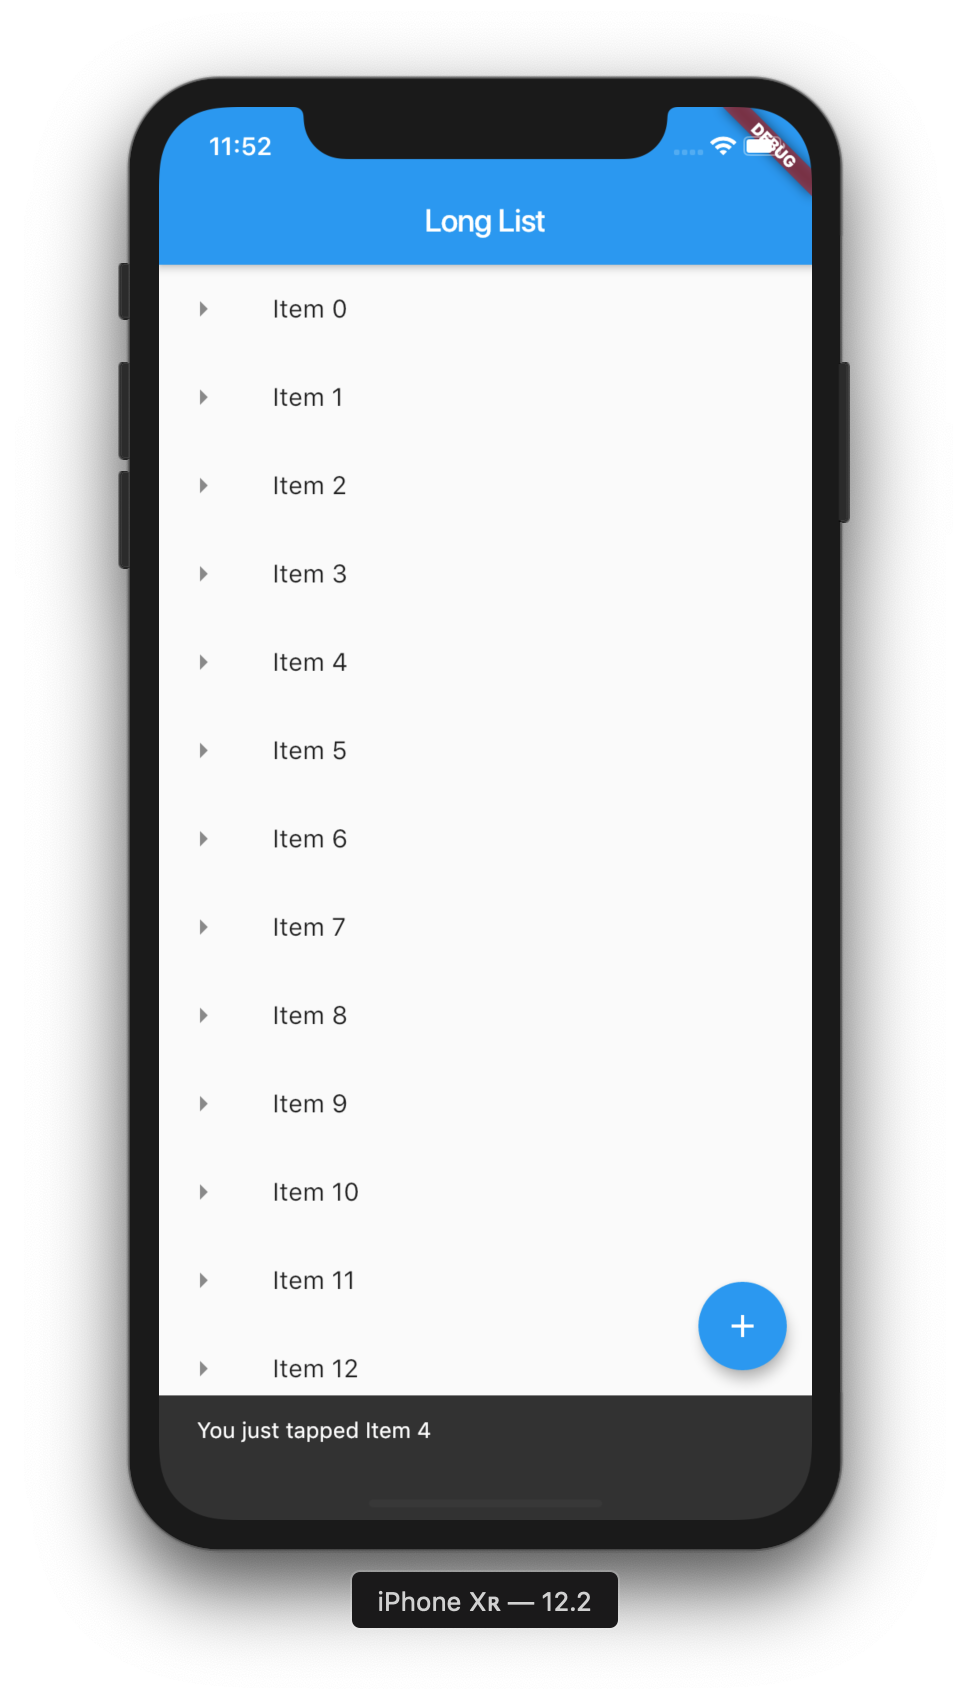
Selanjutnya kita akan coba menambahkan action Undo pada snackbar.
Snackbar Widget dan Floating Action Button selalu menjadi bagian dari Scaffold Widget.
1 2 3 4 5 6 7 8 9 10 11 12 13 14 15 16 17 18 19 20 21 22 23 24 25 26 27 28 29 30 31 32 33 34 35 36 37 38 39 40 41 42 43 44 45 46 47 48 49 50 51 52 53 54 55 |
import 'package:flutter/material.dart'; import './app_screens/home.dart'; void main() { runApp(MaterialApp( title: 'Flutter Widget', home: Scaffold( appBar: AppBar( title: Text("Long List"), ), body: getListView(), floatingActionButton: FloatingActionButton( onPressed: () { debugPrint("Working"); }, child: Icon(Icons.add), tooltip: "Add One More Item", ), ), )); } void showSnackBar(BuildContext context, String item) { var snackBar = SnackBar( content: Text("You just tapped $item"), action: SnackBarAction( label: "UNDO", onPressed: () { debugPrint("Undo Operation"); }), ); Scaffold.of(context).showSnackBar(snackBar); } List<String> getListElements() { var items = List<String>.generate(1000, (counter) => "Item $counter"); return items; } Widget getListView() { var listItems = getListElements(); var listView = ListView.builder(itemBuilder: (context, index) { return ListTile( leading: Icon(Icons.arrow_right), title: Text(listItems[index]), onTap: () { showSnackBar(context, listItems[index]); }, ); }); return listView; } |
