In the previous tutorial, we have successfully created a simple CRUD using NodeJS API. We will go further based on the previous code that we have made to create the security and authorization method using JSON Web Token(JWT) and Hashing.
Setting Up the User Model
Installing NPM Validator Module
We will modify the User model in order to be able to use validation. First, we need to install the validator module :
|
1 |
npm install validator --save |
Modify models/user.js
Modify the user.js by adding some attributes to the email and adding password and token credentials:
|
1 2 3 4 5 6 7 8 9 10 11 12 13 14 15 16 17 18 19 20 21 22 23 24 25 26 27 28 29 30 31 32 33 |
const mongoose = require('mongoose'); const validator = require('validator'); const User = mongoose.model('User', { email: { type: String, required: true, trim: true, minlength: 1, unique: true, validate: { validator: validator.isEmail, message: '{VALUE} is not a valid email' } }, password: { type: String, required: true, minlength: 6 }, tokens: [{ access: { type: String, required: true }, token: { type: String, required: true } }] }); module.exports = {User}; |
Creating POST /users Route
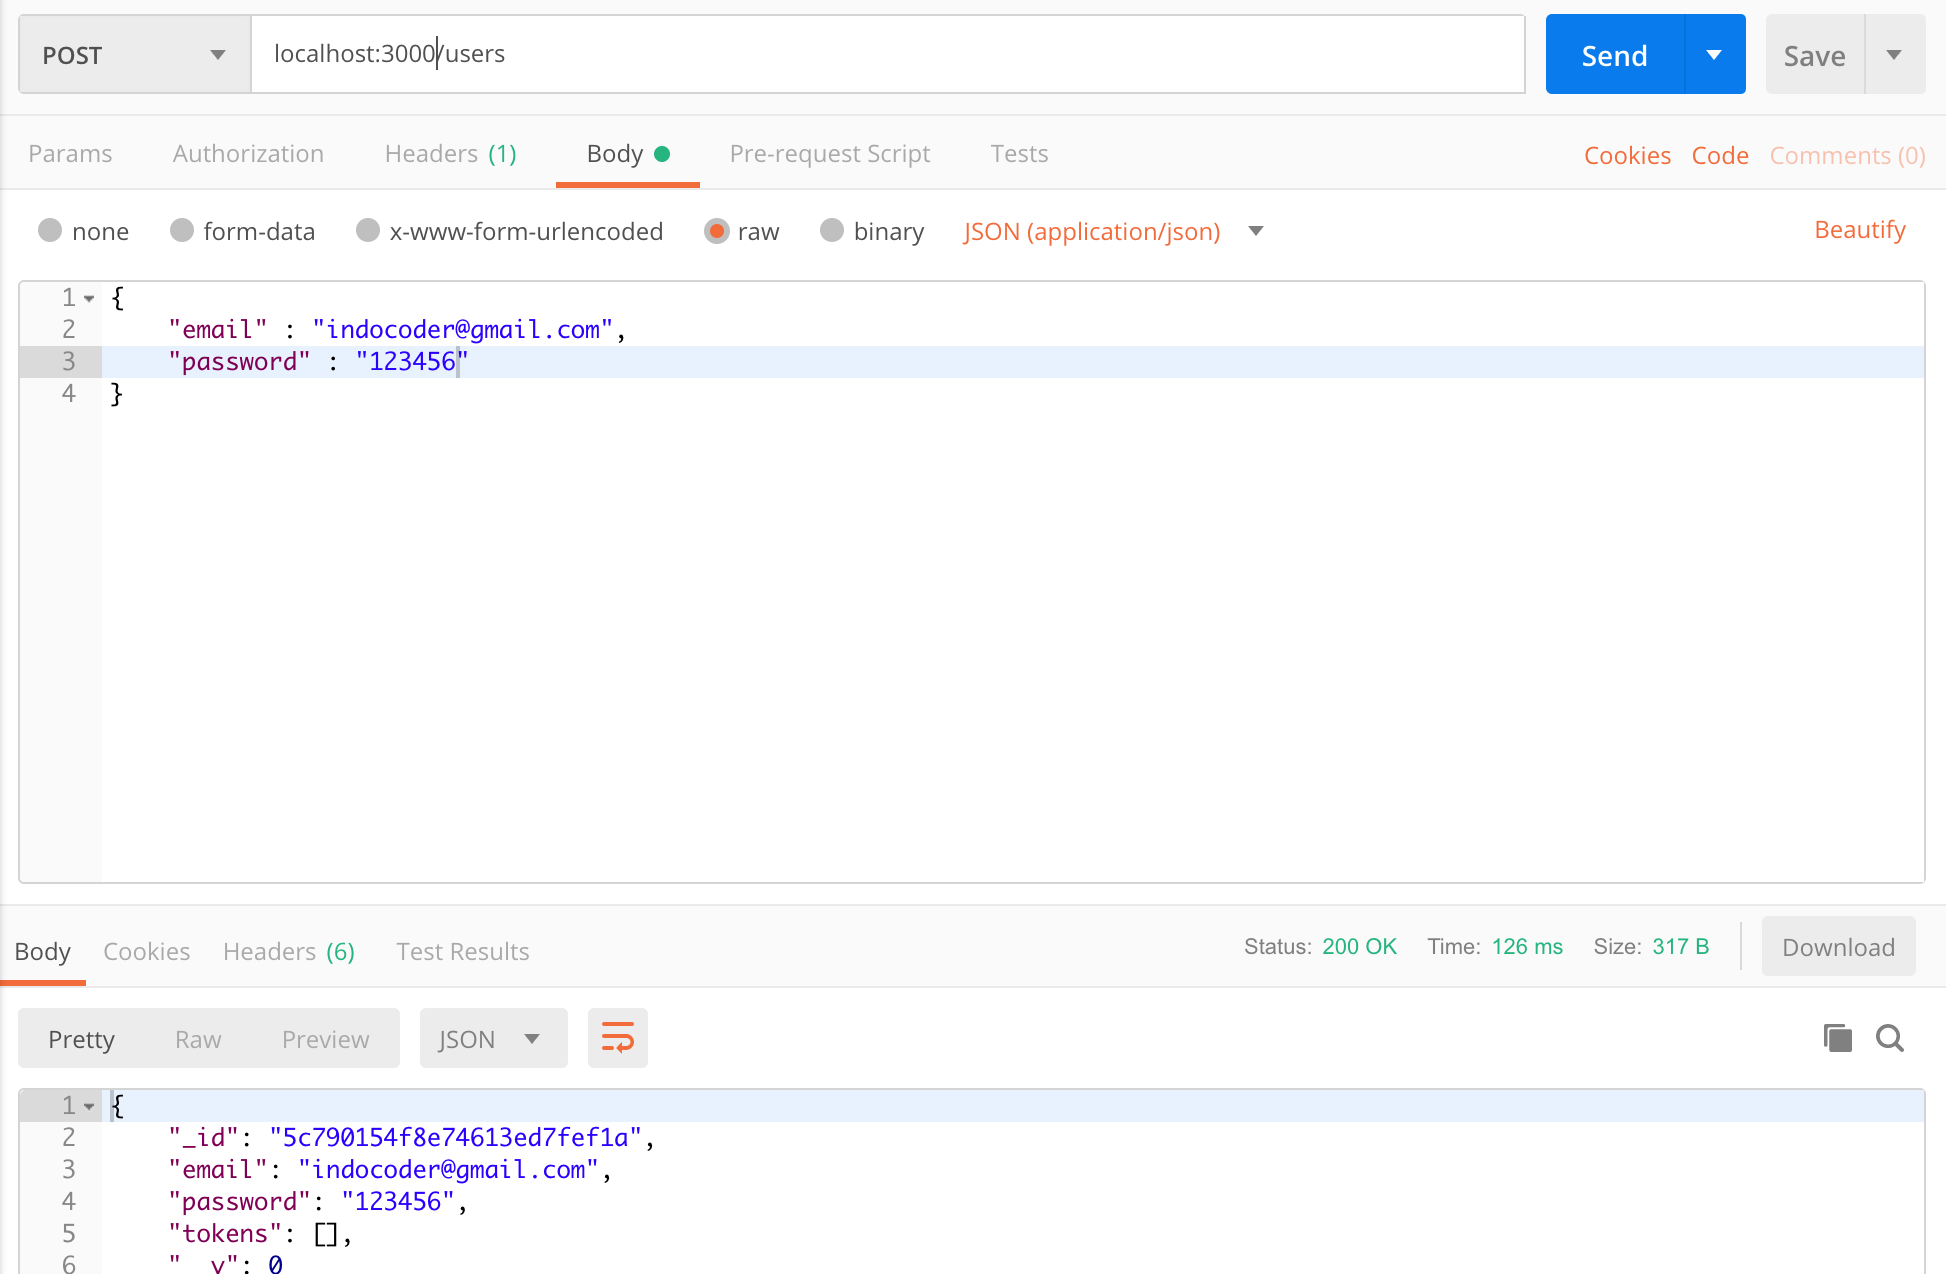
Next we’ll create a route to insert user email and password to the database. Modify server.js and add the following code :
server.js
|
1 2 3 4 5 6 7 8 9 10 |
app.post('/users',(req, res) => { var body = _.pick(req.body, ['email','password']); var user = new User(body); user.save().then((user) => { res.send(user); }).catch((e) => { res.status(400).send(e); }) }); |
Turn on your Robo 3T database and try the url using Postman :
